Sharp auger blades make drilling a hole much easier. Over time, the blades wear down from debris and frequent use. If you find that drilling is harder than it used to be, learning how to sharpen ice auger blades might be the next step for you.
To perform this job, you’ll need a few different grit whetstones and a place to work. Let’s take a look at the steps required to sharpen your blades.
How to Sharpen Ice Auger Blades: Step-by-Step Breakdown
1. Removing the Blades
The first step is to remove the blades. You’ll want to make sure to either make a mental note or take pictures of the blade before disassembling it. This will be incredibly important when you go to put it back together.
You should look for shims on the piece that are there to maintain the proper blade angle. This will ensure that everyone goes back the way it came off and it doesn’t impact your ability to drill down the road.
As you’re disassembling the blades, be sure to look out for any damage or excessive rust. Look for cracks, dents, dings, and chips missing. If you want, circle them with a sharpie so you don’t miss anything when you come to sharpen the ice auger blades.
2. Inspection
Once you’ve got the blades off, it’s time to undergo a more thorough inspection. Some of the factors that may impact your drilling capabilities include bends, dents, dings, and chips. Excessive rust can also make it difficult to drill cleanly.
While you’re inspecting the blades, don’t necessarily assume that they’re not sharp. Even though they might seem dull when you’re using them, they’re still very sharp on our skin.
As you’re inspecting them, now is the time when you’ll want to determine what ice auger blade sharpening method you plan to use. Depending on the level of dullness, there are three main options you can choose from:
- Whetstone grinding
- Using a filer
- Sandpaper
As you can likely imagine, the whetstone is the preferred method by any expert and they would probably suggest again the other two methods. But, as an angler who spent a large portion of his life “under the gun” in terms of his finances, I’ve learned to make do with whatever I had at the time.
For the purchase of this article though, we’re going to primarily focus on using a whetstone and explaining the steps involved with that method.
3. Grinding the Blades
Just like a good pair of ice cleats is important for traction, a sharp blade is important for traction too. It’s time to rough grind the blades with a stone. Sharpening stones vary in coarseness just like sandpaper does with grit. The higher the grit, the more it polishes it instead of necessarily “grinding” it.
Stones range in grit with the highest being 6000 and the lowest being 120.
They’re called whetstones because a lot of them actually require you to soak them in water before using them. Doing so lubricates the stone and the surface which helps provide a better grind while lifting the small pieces of metal from the blades.
As you’re grinding, you’ll find somewhat of a slurry build-up on the stone which will make it a lot easier to move it back and forth and create a nice smooth grind.
To get started, you’ll want to use something between 400 and 1000 grit. Anything rougher than that might take too much off and anything higher will take too long and you’ll wear the stone down for nothing.
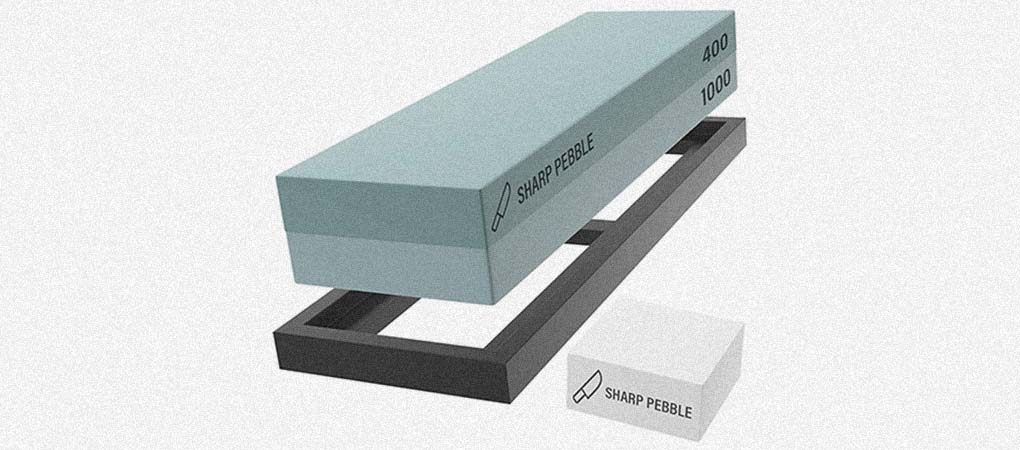
The Sharp Pebble Sharpening Stone is a great choice because it comes with two grits. It has a 400 side and a 1000 side so you can work your way up without having to purchase multiple stones. Whetstones can be very expensive so this is an economical way to go about it.
You’ll want to soak the stone really well as you prepare it. All auger blades consist of three parts.
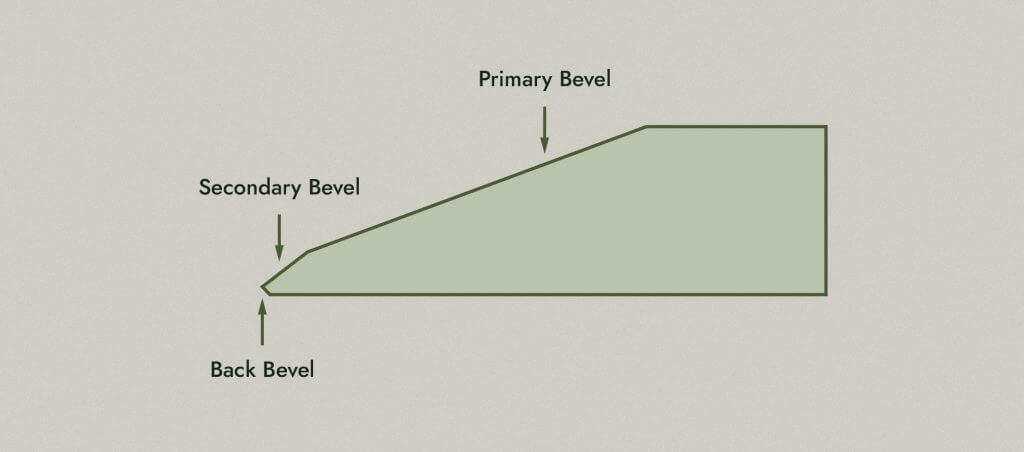
You have the primary, secondary, and back bevel. Most of the time, the primary bevel won’t require much attention because it doesn’t come in direct contact with the ice. The secondary and back bevel pull most of the weight and that’s where the majority of your damage will come in.
Flip the blade over so the primary bevel sits on the stone and make long sweeping strokes. Don’t press too hard and allow the stone to do the work. A lot of experts recommend coloring the primary bevel with a sharpie because it will allow you to see which areas of the blade you’re working.
You’ll repeat this process on the secondary and back bevels as well. Make sure you hold the blade flat and only grind the edge of the blade. As you get towards a fine honing stone, this will become even more important.
4. Honing the Blades
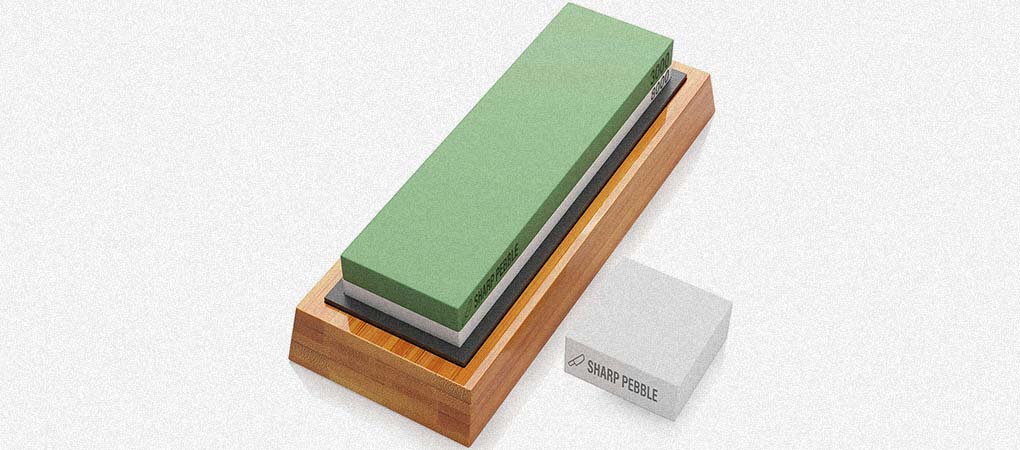
Once you’ve worked a lot of the major damage out of the blades, it’s time to actually work on sharpening the bevels. You’ll want to get a much finer stone for this. A double-sided 3000/8000 stone from Sharp Pebble is a great option.
You’ll want to rest the primary bevel on the stone but lift it up so the primary section isn’t actually touching the stone. You’ll make approximately 25 very light passes with the secondary bevel. The goal is to make the edge sharper and tougher without compromising the integrity of the bevel.
A lot of people like to skip this step because they believe that the blades are already sharp enough. Doing this will clean even the smallest burrs and ensure that your sharp blades can cut through anything.
You’ll repeat the same process on the back bevel as well.
5. Reassembling
Now you know how to sharpen ice auger blades and you’re ready to put everything back together. If you followed the steps I provided to you during the disassembly step, you should have no problem getting everything back together properly.
The only important tip I have for you here is to be very sure about the angle of the blades. If it’s not perfect, you’ll have a hard time drilling and you’ll end up damaging them as well.
Auger Blade Sharpening: Tips for Keeping Your Blades Sharp
Preventative maintenance is the key in fishing. While knowing how to sharpen auger blades is important, knowing how to prevent them from dulling out quickly is even more important. Here are some tips you can take with you.
Avoid Debris – While it’s kind of obvious, you’d be surprised. When you’re not using your auger and you’re storing it somewhere, it can build up debris and dirt on it. This can dull it out especially if you go and fire it up without cleaning the dirt off first.
Remember that dirt is basically small ground-up pieces of rocks. So, as you’re banging that up against the blade, it will start to dull out.
Be Gentle – The ice auger isn’t something we look at and think we need to be super careful with it but the blades are. The blades will dull out, bend, and damage easily no matter how much you paid for the auger. This is especially true with hand augers.
Be careful with it, set it down gently when you’re done, and don’t just toss it in the sled when you’re done.
Drill Slowly – I’d say this is the number one reason why people end up with dull blades. They want to get out there and plow through the ice in two seconds by putting a ton of pressure on it and their power auger into the ice. While it will work, it won’t work when the blades are dull because you’ve been mistreating it.
FAQs
Here are some of the most frequently asked questions about sharpening ice auger blades.
Where can I find an ice auger blade sharpening service?
You’d be surprised that this is a real thing. People sharpen ice auger blades for you. They are few and far between but Lake Link has a decent forum here that you can check out. It’s very old but there are some newer posts from the past decade.
You’re also likely to find other businesses that can sharpen auger blades as well. Tooling companies, chainsaw places, and lawn and garden companies may be able to help with sharpening auger blades.
How do you sharpen ice auger blades with sandpaper?
You’ll sharpen the blades similar to how you do with the whetstone but the process is somewhat reversed. Instead of running the blade across the stone, you’ll run the sandpaper across the blade going from rough to fine.
Be extra careful with this method because you can cut your hand wide open with one wrong move.
How to sharpen Jiffy ice auger blades with a file?
Jiffy blades are a bit different than most others and require a special ice auger sharpening tool. Here is a video that explains it pretty well but overall, it’s a very simple process. Other brands like Eskimo and Mora can use a Lazer or Strikemaster blade sharpener for the sharpening process.
Final Thoughts
Learning how to sharpen ice auger blades is not hard. If you’ve ever sharpened a knife or any other type of blade, the process is similar. Make sure to be careful when sharpening your blades and do your best to prevent unnecessary damage from happening to them.
Sharp auger blades will make drilling ice fishing holes much easier and faster so you’ll be able to spend less time drilling and more time ice fishing.


