When choosing a fish finder, you must always think about how you plan to use the unit.
There’s no sense in wasting money on features you can’t use!
As a fellow angler, I realize bass anglers need different features than deep-sea anglers, and kayak anglers need a different sized unit than boat anglers.
On top of that, the wild world of fish finders gets confusing quickly if you don’t understand the basics.
Luckily, I’ve tested over 10 fish finders for my kayak, bass boat, and from the shore and have spoken to many professional anglers on what features to look for before making a purchase.
Keep reading to learn how to choose a fish finder that’s perfect for you.
Table of Contents
Consider Where You Fish When Buying a Fish Finder
Ask any angler, and they’ll tell you, where you fish is the most important factor when it comes to selecting the right fish finder for you.
Bank

When fishing from the shore, you will need a castable fish finder because… it’s your only option. You won’t be able to use any other transducer type.
Well that was easy!
The big thing to consider before buying a castable fish finder is the transducer. You need a tough transducer as you’ll be launching it into the water, possibly bouncing it off of rocks and stumps.
All the major brands offer durable transducers, and I’d recommend sticking with them.
For instance, Lowrance has their Fish Hunter series, and Garmin has the Striker Cast.
The main con with castable fish finders is the lack of a screen, but this also makes them incredibly portable.
Since castables don’t have a screen, most transmit the data through WiFi or Bluetooth to a nearby phone. So you’ll need a phone that’s capable of downloading apps and connecting to a wifi network i.e., any smartphone these days.
So as long as you’re not throwing it back to the old flip phone day’s you can probably quickly connect to the transducer.
While having no screen may be a con, it’s also somewhat of a pro.
No screen = less money.
You’ll find that castables have a super low price point relative to other fish finders on the market, around $100.
If you’re fishing from the bank, read our best castable fish finders article to learn more about these and find the right one for you.
Ice Fishing
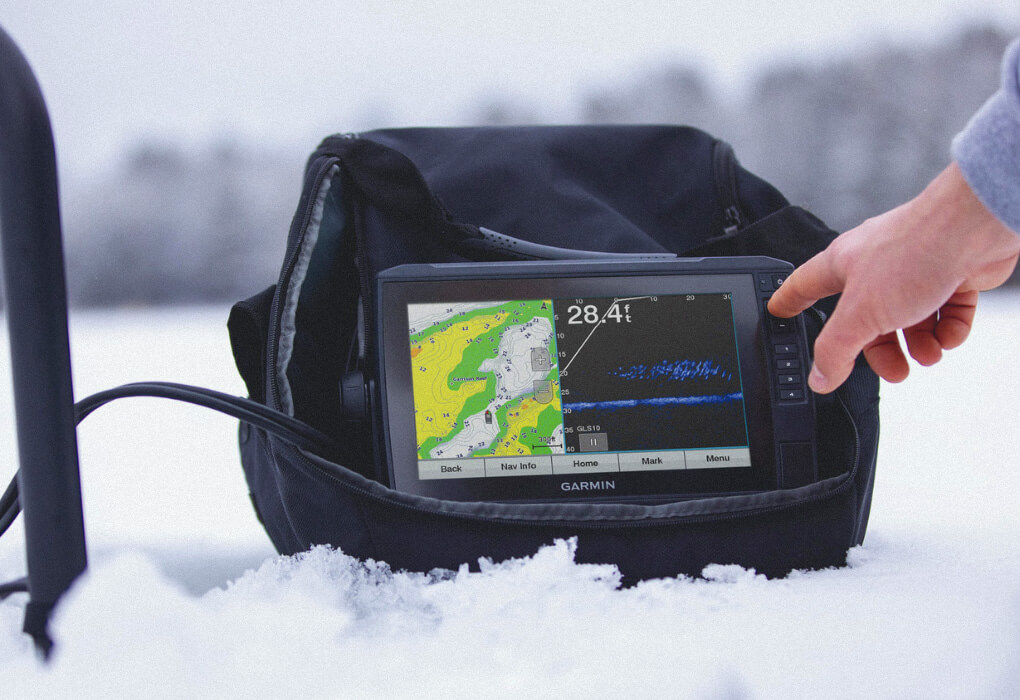
When walking out onto the hard water you’ll need a different transducer and fish finder than bank anglers or most other anglers for that matter.
Ice fishing has it’s own unique challenges it brings to the table such as they must allow anglers to be mobile yet durable enough to handle the frigid temperatures and harsh conditions.
The delicate balance of mobility and durability is why many fish finders simply can’t cut it.
Ice fish finders generally come with a screen, transducer, battery, and carry bag to keep everything contained in one place.
Such as is the case with the Garmin Livescope Ice Fishing Bundle and the Humminbird Ice Helix 7.
I highly recommend purchasing an ice fishing bundle, because these bundles come with everything an ice fisherman needs regarding sonar.
Depending on the model you purchase, ice-fishing units are often compatible with the latest sonar technology, such as live sonar. Which only adds to the price… but you see EXACTLY what’s swimming below the ice.
Another important factor to consider is battery weight. Idk about you but I don’t don’t need to my my workout for the day lugging a 30lb battery out on the ice, plus all the other gear.
Yet, we need a battery that will last all day and then some.
Light battery > Heavy battery.
Without a battery, these ice fishing units tend to cost between $150 to $1,200, depending on how much fancy sonar you want.
When you add a Lithium Ion battery to the mix, that’s another $200+ dollars depending on the size of the battery you purchase.
More $$$, yay!…
Choosing the correct screen size is also critical, as you shouldn’t strain your eyes to see the screen, but it’s doubtful you’ll need a 65” 4K high-resolution screen, unless you need to catch the game while you’re in the shanty.
Typically, a 7” or 9” screen is the perfect mix of portability and large enough.
Don’t miss our best ice fishing fish finders article to help you decide which one works best for your situation.
Kayak
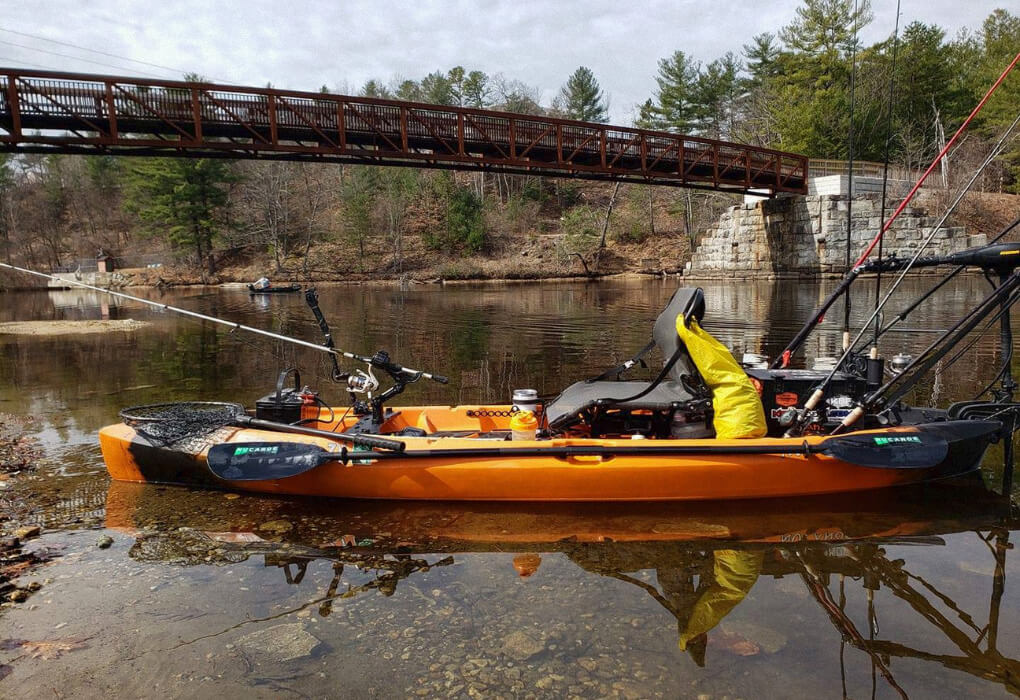
Because space on a kayak is minimal, I use a smaller fish finder screen. I prefer a 7” or 9”, but I’ve used a screen as small as 4”, depending on the size of the kayak
I rarely fish deeper water (15’+) in my kayak, so I primarily use a transducer set to higher frequencies to see the bottom structure and individual fish clearly.
Kayak fish finders are generally the same ones you would use on a boat, with scaled down screens. So us plastic boat anglers don’t have to feel left out.
I have have one of the latest live sonar units on my kayak, but it’s by no means necessary. I can’t say that’s it’s helped me catch many more fish at least…
My first fish finder only used CHIRP sonar and had a 4” screen, but over the years, I’ve upgraded to a better unit in hopes of becoming a better angler. At least that’s what I tell my wife when she sees the Bass Pro receipt.
I recommend doing the same so that you won’t be overwhelmed by all the features when learning how to read a fish finder.
One think I’ve discoved is mounting a fish finder on a kayak can be a little tricky because you need something that quickly detaches for transport but secures this expensive piece of equipment to your kayak..
I had to install a mount for my first fish finder, but then I discovered kayak fish finder mounts that make it much easier, and I don’t have to drill holes in my favorite small plastic boat.
Because fish finders are rarely designed for a kayak, the transducer cable often has an excess amount, which can be a pain to store, but that’s a necessary evil.
Lastly, don’t bother with a fish finder that isn’t water resistant. It will get wet from waves, your paddle, or rain, so it must be able to stand up to these conditions, or you’re flushing your money down the toilet.
Raymarine, Garmin, Lowrance, and Humminbird are the top kayak fish finder brands, but you can find a few quality budget-friendly options if you’re willing to compromise on some features.
In my experience kayak fish finders generally cost $150- $1,500+ on top of a $200-$300 Lithium Ion battery.
And I thought kayak fishing was going to be cheaper than getting a boat… I shoulda bought the yacht.
If you’re interested in learning more about fish finders for kayaks, don’t miss our best kayak fish finders article.
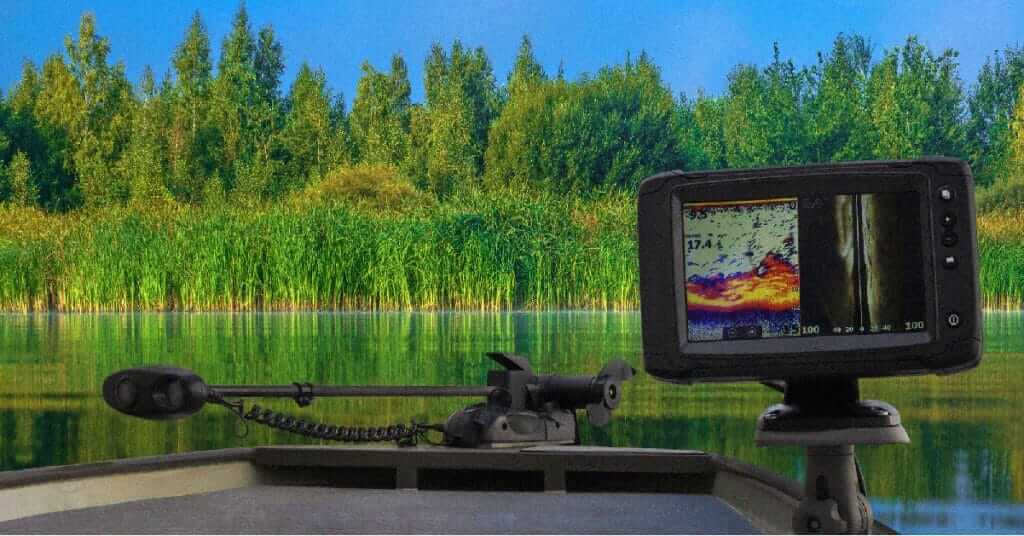
Bass Boat
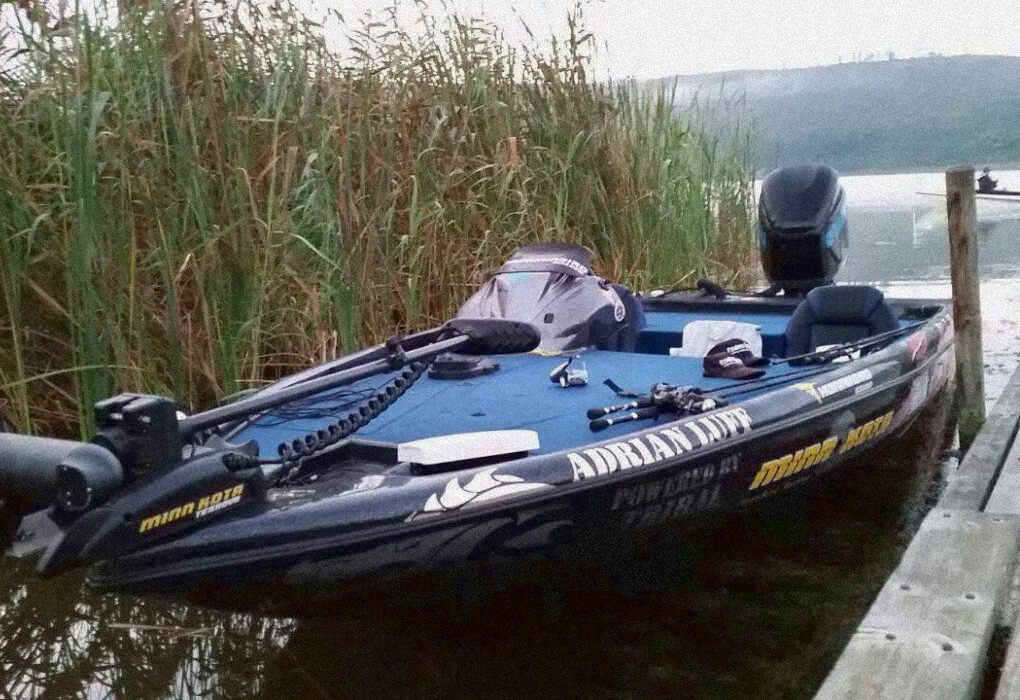
Bass boats are designed to tackle most freshwater conditions, so they can handle larger screens loaded with the latest and greatest fish finder technology.
It’s not uncommon to see several units on a professional bass anglers boat, looking like the TV wall at Best Buy, but that doesn’t mean that’s what you need to catch fish consistently.
Begin with one unit, learn it, and then expand from there if you wish.
I like to have one unit mounted on the console so I can look at the sonar and maps while idling, and I like to have another unit at the bow so I can see it while operating the trolling motor.
However, I do not currently have a fish finder mounted at the bow of my boat, and I hadn’t noticed a decrease in how many fish I’m catching… hmmm that’s probably not good.
I don’t recommend using a screen smaller than 9” on any bass boat; that way, you can see it from almost anywhere on the boat.
Per usual, when you upgrade to a lager screen, the price goes up, but the features generally stay the same.
Don’t take out a second mortage on your home to buy the first fish finder for your bass boat. Start with a fish finder around $1,000 because these units are easier to learn on and you can usually add features onto most of them.
You can easily spend over $3,000 on a single unit for your bass boat if you want all the bells and whistles from the git-go.
The latest thing in bass fishing is to use Lithium Ion batteries for your electronics. I bought one for my fish finder, and so far I’m impressed. However, I used a deep cycle marine lead-acid battery for years and it worked great.
I’m not sure the weight you save in your bass boat is justified by the price you pay, though.
Humminbird, Garmin, and Lowrance are the three main players in bass fishing, and the brands I trust on my boat.
As important as buying a fish finder is, learning how to read a fish finder is even more important, so once you have one installed on your boat, be certain you know what you’re looking at on the screen.
Saltwater
Since most saltwater boats are big to better handle the tough conditions, a large fish finder screen is recommended, so it’s easily seen from anywhere on the boat.
However, a larger screen means more $$$… Saltwater gear is always more expensive.
The depths fished by saltwater anglers also bring another challenge other anglers rarely face. A different transducer is needed than what most freshwater anglers use.
A low-frequency transducer is best to cut down on interference and reach depths greater than 100’. The major brands all offer transducers designed to handle the depths encountered while fishing offshore.
Just be sure you choose the right option when buying one.
Another consideration that saltwater anglers must make is choosing a unit with excellent GPS.
It’s easy to get turned around while offshore fishing, so having a unit that can safely guide you back to port or to the nearest harbor is critical.
A quality unit will allow you to avoid hidden reefs, navigate channels, and find more places to fish based on the GPS and maps. Navionics is one of the most trusted mapping brands.
I’ve forgotten exactly where I caught fish and wanted to punch myself for not marking it with a waypoint! Using GPS and maps has saved me many black eyes, from myself.
Radar is a must when fishing along the coast. Storms pop up out of nowhere and can catch you by surprise if you’re not keeping one eye on the weather and the other eye on the fish.
You should definitely install a saltwater fish finder with radar for your safety and those on your boat.
Lowrance, Garmin, and Raymarine are three of the most trusted brands by saltwater anglers. Each brand brings its unique benefits, but generally, they all offer similar products with minor tweaks.
I’m sure you know this, but be prepared to spend a chunk of change when buying a fish finder that offers all the features needed for fishing saltwater.
What to Look for in a Fish Finder: The Basics
Fish finders get confusing very quickly if you don’t understand the basics. Let’s tackle these now that you know the type of fish finder to get for your situation.
Price vs. Features
I spoke with many professional anglers at MLF RedCrest recently, and I was surprised to hear them say the average angler doesn’t need all the features they use on their fish finders.
I would eagerly agree.
That’s why I think one of the most important decisions you can make initially is determining your budget.
Most fish finders cost between $150 and $3,000.
A fish finder in the $150 range will get you CHIRP sonar and a small 4” screen, which is about the size of your phone. You might get some waypoints and GPS capabilities, but they will be EXTREMELY limited.
$500 – $1,000 fish finders will often allow you to use CHIRP, DownScan, and SideScan, depending on the model and transducer you purchase.
Some will have GPS and mapping, but it’s rare to see them with Chartplotting capabilities in this price range.
A fish finder that costs $1,100 or more should be compatible with all the latest technologies. The main differences between a $1,100 unit and a $2,000 unit are screen size and the transducer.
The pro and con of the high-end units are all the add-ons you can get with them, such as multiple transducers, maps, and networking capabilities. This is nice for customizing your purchase, but it can quickly jack up the price.
Having a set price range will help you decide on the features you believe you need to catch more fish.
Screen Size
You may think choosing the correct screen size is a no-brainer, but that’s not the case.
My first depth finder was a Garmin Striker 4. This was a great entry-level unit, perfect for my kayak but unsuitable for my boat because of the small screen.
Consider the vessel you will be fishing from, as that will determine the screen size you need.
An excellent all-around screen size that I generally recommend is 9”; this is especially true if you want a touchscreen and if you use a split-screen.
The big thing to keep in mind here is your budget. As the screen gets larger, so does the price.
Bigger screen = More Mulah
Screen Resolution
A high-resolution screen will allow you to see more details to differentiate between individual fish and have a better-quality image overall even when the sun is glaring down.
The larger the screen you get, the more pixels (higher resolution) you need to avoid a fuzzy screen.
I have yet to see a modern day screen that was so fuzzy I couldn’t read it. Technology today has improved so much that the screen resolution is usually really good when you purchase a trusted brand.
The screen resolution won’t great on cheaper models that are black and white, as is the case with most cheap fish finers on Amazon.
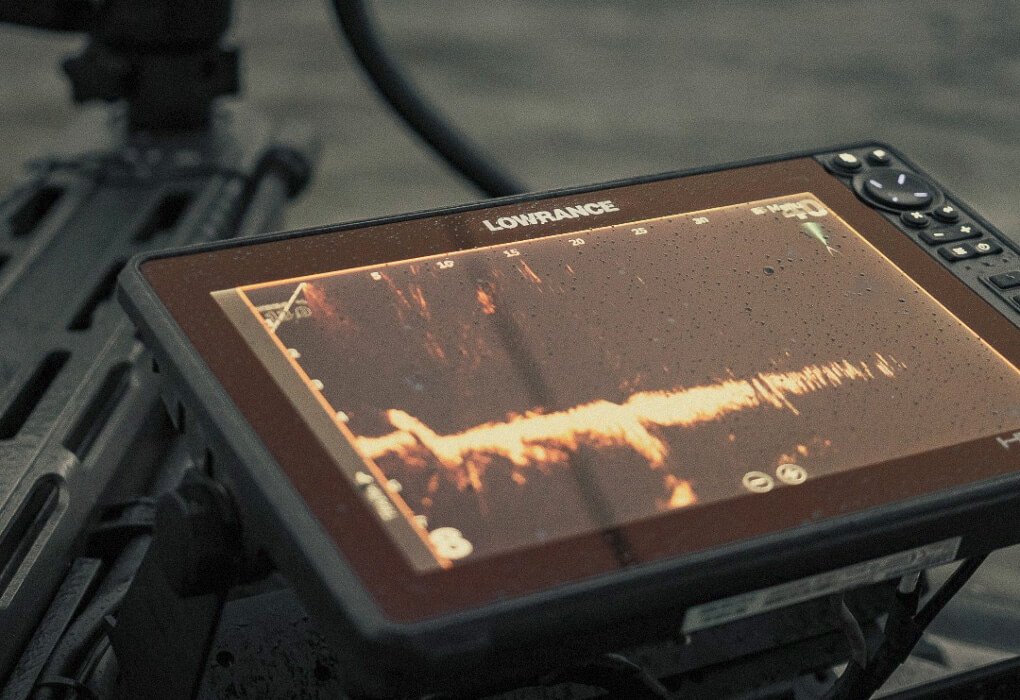
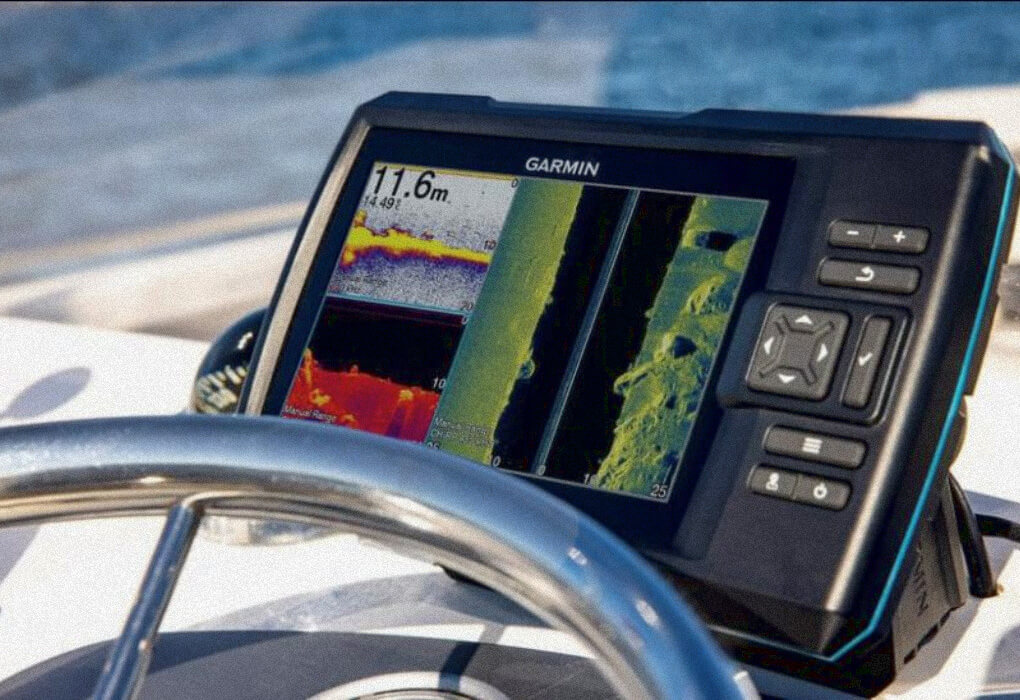
Transducer

The transducer is part of the fish finder that goes into the water and determines the type of sonar your unit will transmit.
The most common types of sonar are CHIRP traditional sonar, DownScan, SideScan, and Live sonar.
Generally, a transducer can use CHIRP, Down Imaging, Side Imaging, or a combination of the three.
However, Live Sonar often requires a separate transducer, which means… you guessed it, more dolla bills.
Learning how to use CHIRP sonar, DownScan, and SideScan as a beginner is best, not to mention it will be much less expensive and easier to set up than a Live Sonar transducer.
Transducers are also labeled by where you mount them. For instance there are castable, thru-hull, in-hull, transom mount, and trolling motor transducers.
Various transducers use differing frequencies, which we will discuss next.
Frequency
Fish finder frequencies range from 15 to 200 kHz, but most transducers are designed for 50 and 200 kHz.
While I’m no expert in sonar frequencies, I understand high frequency is great for getting more detail at close range, and low frequency is best for longer ranges.
So a high-frequency transducer will work best if you primarily fish in shallow water (less than 50’). However, I recommend a lower-frequency transducer if you plan to fish deep water (more than 50’).
I should also point out that most units have dual-frequency transducers, allowing you to adjust the frequency depending on the water depth you’re currently fishing.
This process is generally really easy and only requires you to push a button or two.
Mapping / GPS
One of the features I love most is the mapping and GPS of fish finders.
This feature allows you to mark your location to know exactly where to revisit. If you get turned around, it will also help you navigate back to the boat ramp.
If you have a mapping program with contour lines, you can find places to fish that others might be overlooking, so it can give you an edge.
A Chartplotter gives you the option to mark a course and follow it. This is great to keep you from fishing in an area that wasn’t productive or staying a specific distance from the shore.
The $150 unit I bought has GPS capabilities; however, it does not show a map, so just because it says GPS doesn’t mean you’ll have a detailed map of the lake you’re fishing.
You’ll need a Chartplotter/GPS combo for that feature.
Networking Capabilities
Lower-end fish finders won’t be able to communicate with other fish finders on your boat, but the average angler rarely needs their fish finder to talk with thier trolling motor, smartphone, and shallow-water anchors.
The mid-range and high-dollar fish finders offer networking features.
These features allow the fish finders to use Live Sonar, share GPS waypoints, and control trolling motors and shallow-water anchors through wifi, Bluetooth, or wired connections.
They’re great to buy, when you’re spending someone elses money!
Installation Process
Modern fish finders are generally simple to install, plug in a few wires, but if you’re not comfortable installing the one you just bought, you can take it to a local marina or boat repair shop to have them hook it up.
I’ve found the least expensive fish finders are the easiest to install, while more expensive ones require more expertise.
Choosing a Fish Finder Brand
I have tested several fish finder brands, and I can confidently say Garmin, Lowrance, and Humminbird all make quality products.
However, each brand has unique features that make them better for anglers in specific situations.
Because of their mapping capabilities, Garmin and Lowrance tend to be preferred by saltwater anglers, and all three brands are used in professional-level bass tournaments.
Raymarine is another brand trusted by many anglers, but they’re not as prominent in the bass fishing space as the previously mentioned brands.
More importantly, each brand offers entry-level fish finder and mid-level models that simplify upgrading.
Countless other brands offer cheaper alternatives. However, I’ve found you get what you pay for when buying a fish finder.
I prefer to spend more for better quality and features, which is why I stick with the four best known brands.
Further Research for Buying the Best Fish Finder
Here’s a list of our articles on the top fish finders:
- 15 Best Fish Finders
- Best Fish Finder Under $500
- Best Fish Finder for the Money
- Best Kayak Fish Finder
- Best Fish Finder GPS Combo
- Best Portable Fish Finder
- Best Ice Fishing Fish Finder
- Best Fish Finder for a Small Boat
- Best Castable Fish Finder
- Best Lowrance Fish Finder
- Best Garmin Fish Finder
- Best Humminbird Fish Finder
Frequently Asked Questions
What should I look for in a fish finder?
What you should look for in a fish finder is based on your fishing preferences. The key features are the types of sonar, screen size, and frequency.
What is the simplest fish finder to use?
The simplest fish finder to use is the Lowrance Hook Reveal or Garmin Striker 4.
Do I need GPS on my fish finder?
No, you do not need GPS on your fish finder if you’re fishing inland waterways. However, you do need GPS when saltwater fishing or fishing on the great lakes.
That being said, GPS is very helpful when fishing, so I highly recommend getting it if you have the budget.
What is the difference between a fish finder and sonar?
The difference between a fish finder and sonar is how they are designed. Fish finders use sonar to locate fish and underwater structures.
Sonar is sound waves transmitted using a transducer that reads the waves as they bounce back.
What is the most reliable fish finder?
The most reliable fish finder is the Lowrance HDS Live and Garmin Echomap UHD, in my experience.
Final Cast
Now that you know how to choose a fish finder, the rest is up to you!
Remember to determine which features matter most to you based on where you’ll be fishing, and you’ll stay on the right track.
We have an extensive library of fish finder reviews ready to check out as you continue researching.
As always, be sure to leave any questions you have about choosing a fishing finder in the comment section.
I can’t wait to see you on the water with your new fish finder!