
Figuring out how to fillet a bass can be tricky if you haven’t seen it done before.
But, by properly cleaning, gutting, and filleting the fish, you will be cooking smallmouth bass – or your other favorite fish – in no time.
Cleaning these incredible game fish will allow you to eat and enjoy your catch, rather than simply tossing them back.
I’ve pulled in information from experts about food preparation and care to keep your meal safe from any potential bacteria or foodborne illness.
Also, having spent years catching bass all around the US, as well as preparing and eating my fair share of them, I’ve boiled all my experience into a few brief steps to help you learn how to enjoy this delicious fish.
The Importance of Gutting Bass
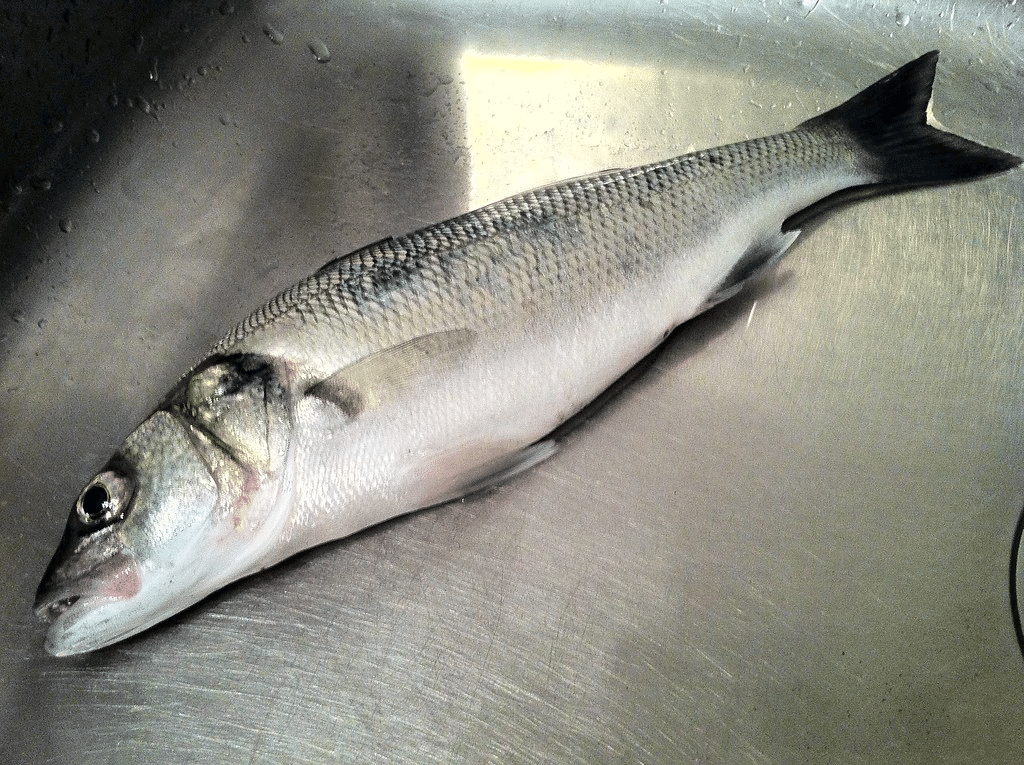
Like any other edible creature, the innards of bass are full of unique liquids, smells, and bacteria that you do not want to taint your meat.
By properly gutting your bass before you cut it up, you protect yourself and your hard-earned meat from bacteria such as salmonellae and escherichia coli.
If left with the guts in, a fish may burst from the build-up of gasses in its belly.
This will spread stomach acids and other unwanted innards throughout the rest of the fish, making the fish inedible, discolored, or smelly.
So, to prevent listeria and other harmful bacteria, gut your fish as quickly as possible and get it into a space below 40 degrees Fahrenheit, such as a cooler of ice or fridge.
Required Equipment to Clean a Bass
As with most jobs, the right equipment will make the job much more comfortable. Before you begin any part of cleaning the fish, make sure to gather your equipment first.
You will need:
- Fillet Knife: these flexible knives allow the user to feel the bone, skin, and meat that they are cutting. A sturdy grip gives you confidence in your cut. A good fillet knife for bass will be longer than the height of the fish, usually between 8 and 10 inches long. Make sure to sharpen your knife regularly. A dull knife is dangerous and will be quite frustrating when learning the delicate art of how to clean a bass.
- Cut-Resistant Glove: Fish are slimy, and bass are no exception. They are difficult to keep still while you are filleting, so the right glove gives you extra gripping power and helps prevent cuts and scrapes from your knife or the fins of the fish.
- Cutting Board or Cleaning Station: When cutting raw meat, you need a sanitary place to keep the meat free of bacteria. A cutting board is best so that it can be washed directly after use to prevent cross-contamination with anything else you may be preparing for the meal. As for size, the bigger, the better for your cutting board. Alternatively, there are specific tables made for cleaning fish if you will be doing this often.
- Vacuum Sealer or Ziploc Bag: A vacuum sealer is the best way to preserve the taste and texture of the fish for an extended period of time in the freezer. But, if it’s just going in the fridge for a few days, opt for a Ziploc bag instead.
- Trash Can: Guts, skin, and fish heads don’t need to make it to the dinner table. Make sure you have a trash bag nearby for all the extras.
- Fresh Running Water: Cleaning sea bass or really any bass is a messy business. To keep yourself, your equipment, and the fillets clean, you’ll need fresh running water throughout the gutting process.
Once you’ve gathered all of the equipment and the fish, you’re ready to go!
The Step-By-Step Guide on How to Fillet a Bass Fish
The next time you’re out testing the best bass lures, you won’t have to throw back many bass. Instead, you’ll know just how to cut it up for a delicious meal later on. Learning to fillet a fish does take time, patience, and an extra-sharp knife. But, by following these steps closely, you’ll have two decent chunks of fish to fry up in just a few minutes.
Step 1: Scale the Bass
This video here covers the first two steps. Here you’ll learn how to scale a bass using a scaler and how to remove the guts.
Some people prefer to gut the fish before removing the head but the person in the video does it the opposite way.
Scales not only harbor quite a bit of bacteria, but they provide an extra fishy taste and an off-putting texture.
You’ll need to make sure every last one is removed for the best product. While this is tricky when first learning how to scale a bass, it can be done with a little patience.
To begin, decide where you can scale the bass.
The scales will go in every direction, so most anglers choose to do it outside.
Check your local regulations if you are allowed to clean the fish at the local pond where you caught it.
If so, that is highly recommended to keep the mess and smell away from your house.
To scale the fish, begin by placing the fish on the cutting board and applying downward pressure with your left hand. Use your right hand to work your knife against the scales, starting at the tail and moving towards the head. The scales should pop off as you scrape. Near the gills and neck, the scales may be more difficult to remove.
Most often, people use their fillet knives for this. However, you can also use a butter knife or a dedicated scaler. What removes the scales is the friction and pull of the object, not the sharpness.
After the scales are removed, run the fish under running water to ensure all scales have fallen off.
Step 2: Gut the Bass
When learning how to gut a bass, brush up on your fish anatomy first. This will give you confidence when slicing it open.
With your bass on the cutting board, you should be able to identify the vent, a small hole, near the anal fin on the belly of the fish. Starting there, use your knife to cut open the belly all the way up to the jawbone. Only go deep enough to cut the skin layer and not the organs behind that. The last inch or two will be a bit more difficult to cut through, so use extra caution.
You will now see the innards, including the bass’ heart, liver, stomach, intestines, kidney, and reproductive system. All of this should be contained within a thin sac. Scoop it out gently with your hands, using your knife as needed to separate it from the internal cavity. Be gentle to ensure nothing bursts.
Gently cut the innards out where they are connected to the fish, near the throat. Then, run the fish under cool water to rinse out any lingering innards.
Step 3: Remove the Bass Fillets
This video here covers removing the fillets from the fish. The person in the video fillets the bass whole. You can choose to do it this way or once the head is removed like in the previous video.
Learning how to fillet a smallmouth bass is very similar to other bass and bluegill. To begin, place your knife directly behind the pectoral fin and gills. Cut into the fish, angling towards its neck. Your cut should go down to the pelvic fin and up to the top of the head.
Next, use the tip of your knife to slice the top of the fish, right next to its backbone. Continue this cut down to the tail fin, staying close to the backbone.
Now, make this cut deeper into the meat, following the curvature of the spine and rib cage. Continue cutting all the way to the beginning of the tail, but do not separate the fillet from the tail if you want to take the skin off.
To remove the skin, flip the fillet so that it is facing upward while keeping it attached to the tail. Put your knife at the base of the tail and slide it between the skin and the fillet. Keep your knife every so slightly angled as you glide it along. Then, you’ll have a fillet free of skin.
Flip the fish over and repeat the process on the other side. It is likely you will have between 6 and 10 bones in each bass fillet along the lateral line. Using tweezers or your fingers, remove them gently. Alternatively, you can use your knife to filet them out, although this will take a decent chunk of solid meat away too.
Then, as usual, rinse the clean meat with cold, running water before sealing them up for storage.
Make sure that all the entrails, fish heads, and skin are disposed of properly. Sometimes they can be thrown back into the pond or lake if regulations allow. But, more often than not, they need to be thrown out with the trash.
These directions work whether you are learning how to fillet a largemouth bass, a striped bass, or any other variety of black bass.
Final Thoughts
Whether you are just getting into cooking largemouth bass or simply wanting to learn how to clean a striped bass, hopefully, I have shed some light on the easiest way to do so. It does take time to perfect, just like your bass fishing technique, so give yourself some grace when figuring it out.
Do you have any tips or tricks for getting the perfect fillet? If so, we’d love to hear them below in the comments!


