Looking for the perfect kayak fish finder? Most reviews ignore the real challenges. After testing in real conditions, here’s what actually works for yak fishing (and what to avoid).
Last updated: December 19th, 2024
Best Overall
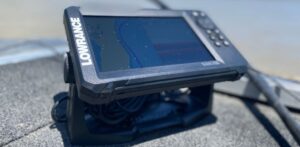
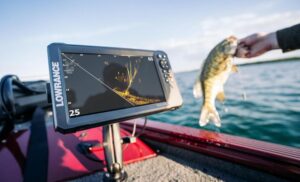
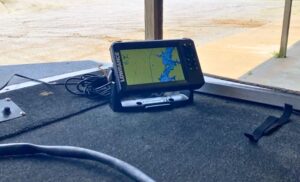
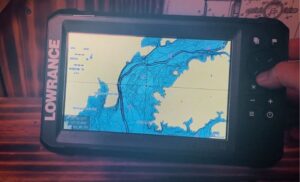
Lowrance Eagle
Specs
Pros
Cons
Why We Chose It
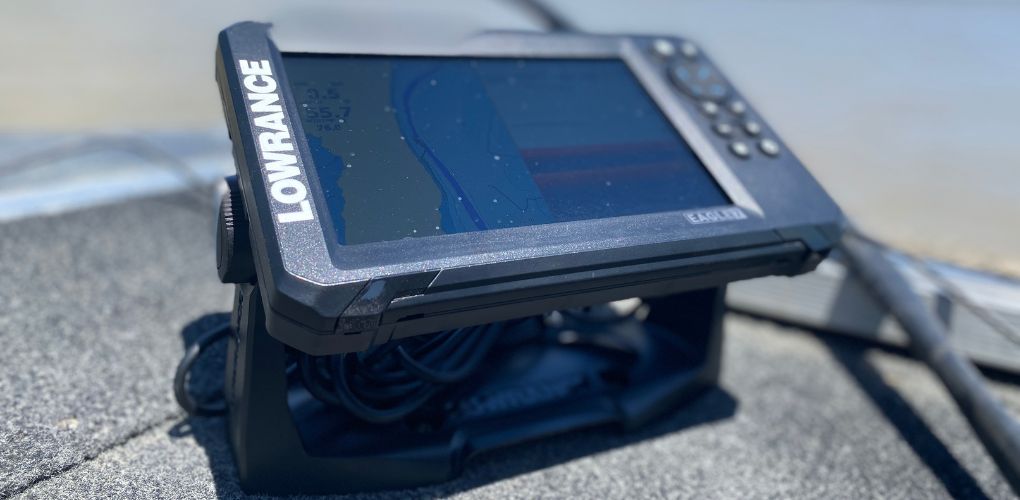
The Lowrance Eagle has every feature you need, without the ones that jack up the price. It is the latest mid-range Lowrance fish finder to hit the market, replacing the Lowrance Hook Reveal.
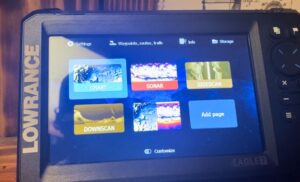
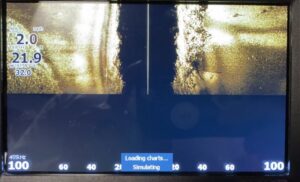
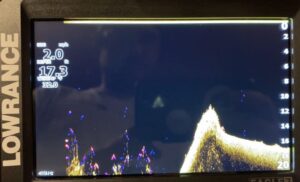
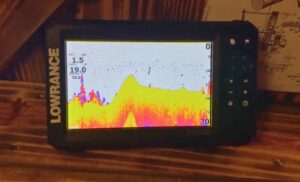
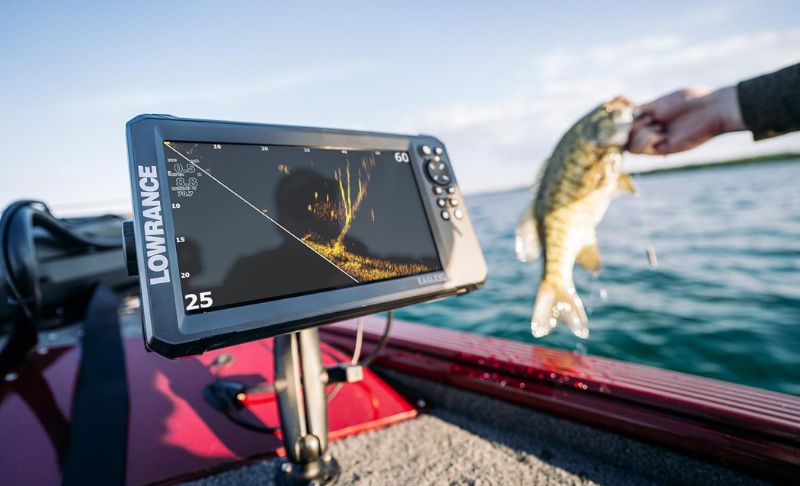
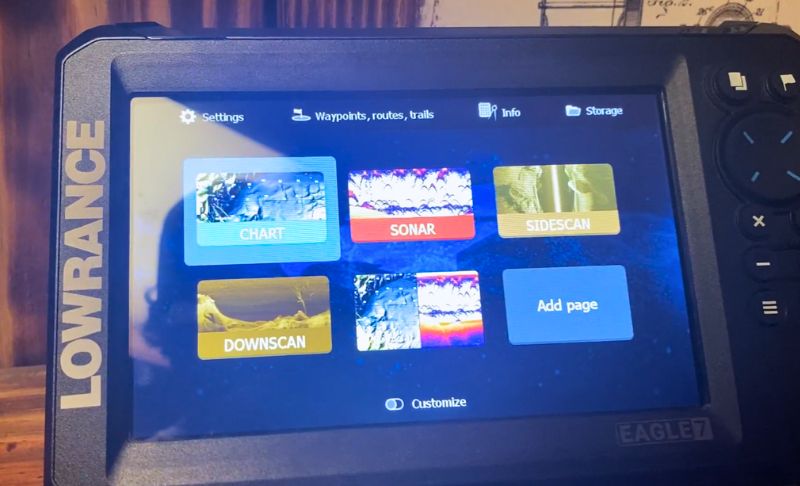
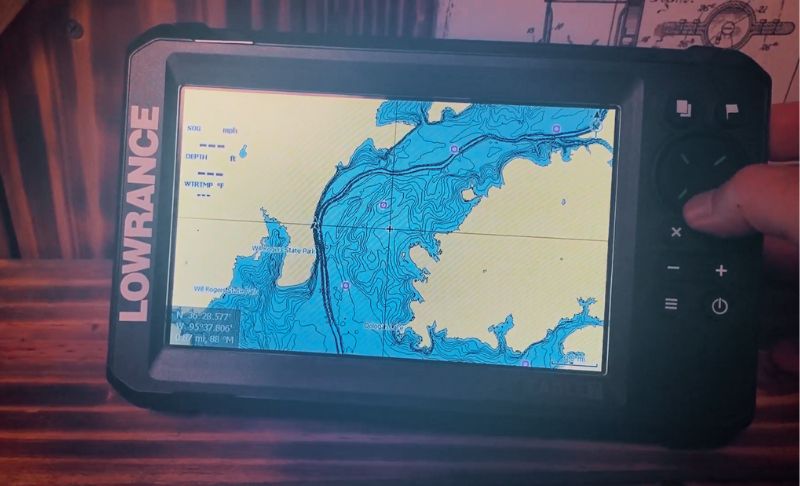
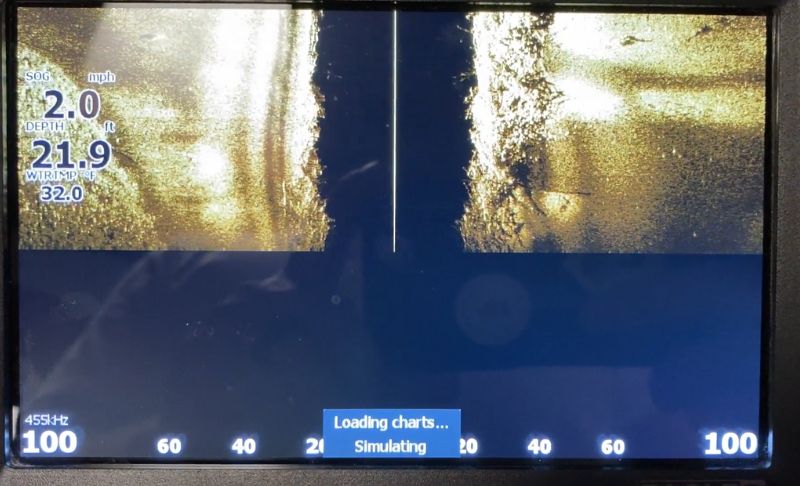
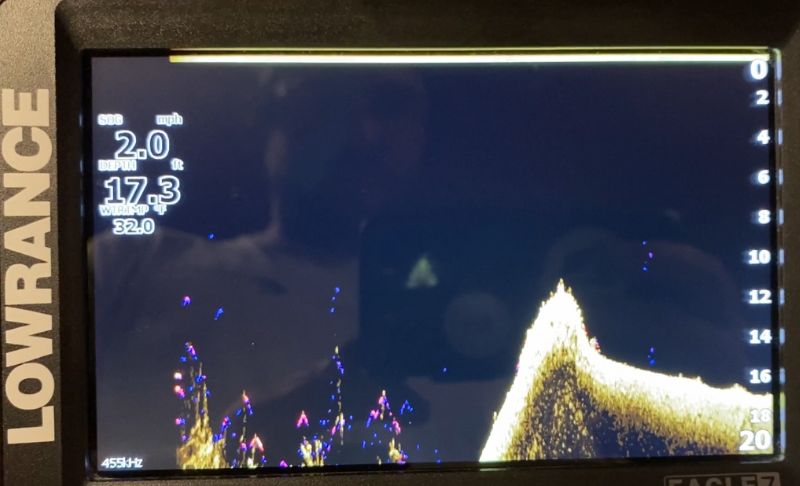
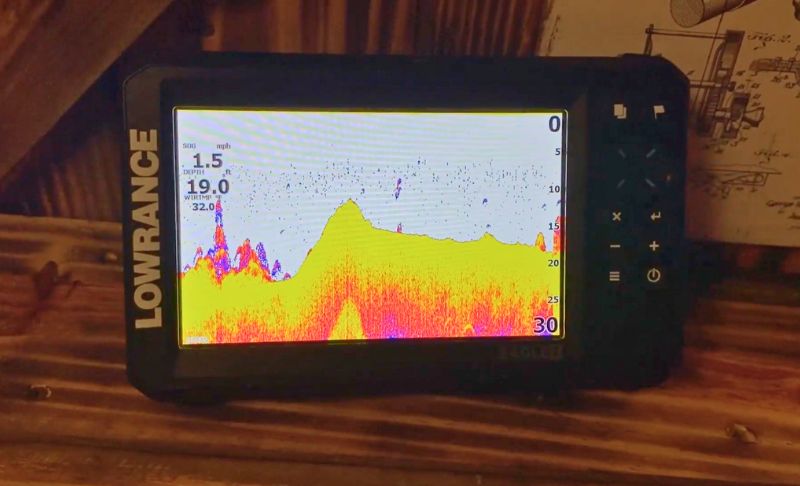
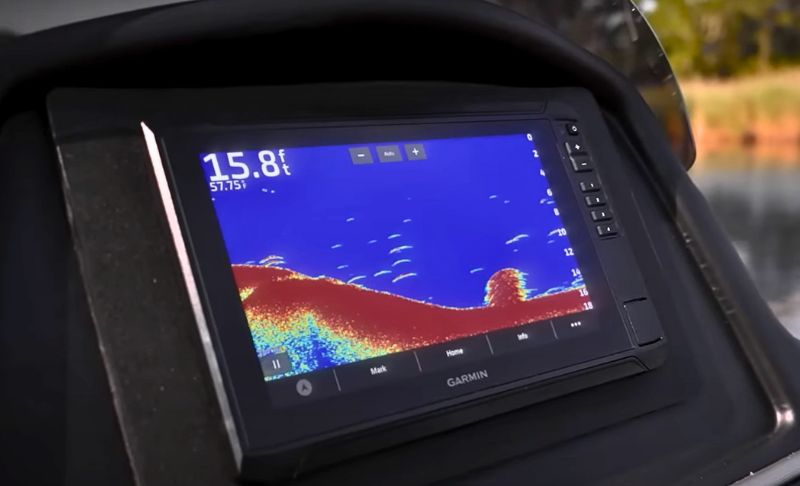
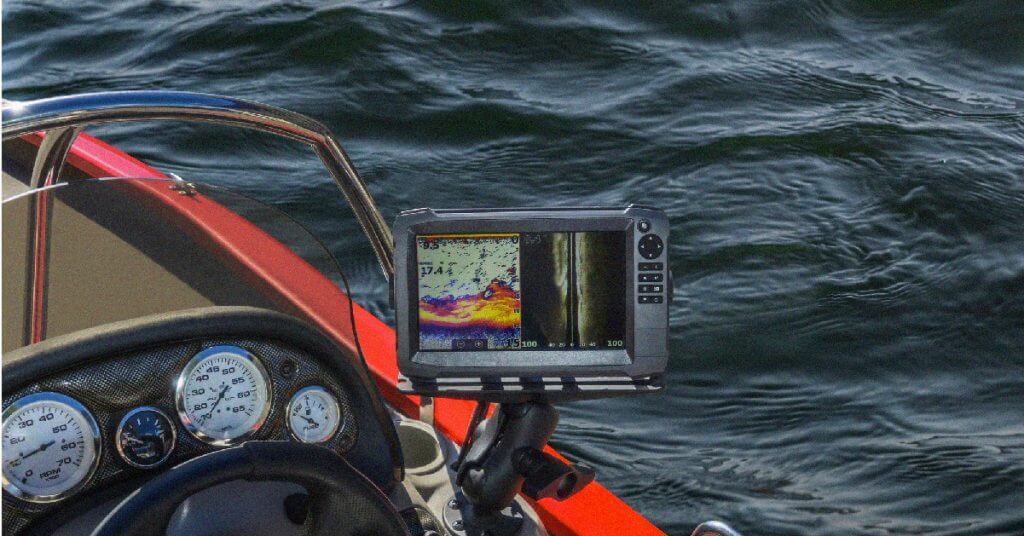
It did an outstanding job filling those shoes when I tested it on my boat. I love that the Tripleshot transducer allows you to use DownScan, SideScan, or traditional CHIRP by switching pages or using all three simultaneously, giving you an excellent idea of the fish and structure below your yak.
The Tripleshot transducer has all the sonar you need to start finding fish and structure.
The screen was crystal clear, even in the bright sun. I had no problems seeing the 7” screen. Speaking of screen sizes, there are several options, so you’ll find the one that perfectly fits your kayak.
The Lowrance Eagle Eye option is an extra feature you might consider if you want live sonar. This is a downgraded version of ActiveTarget Live Sonar, which is compatible with their higher-end models.
However, the price has also been downgraded, so Eagle Eye is the perfect way to introduce yourself to live sonar.
One of the best things about the Lowrance Eagle is the lack of unnecessary features that would drive the price sky-high. It has everything you need without the extra fluff.
However, as great as this unit is, I wasn’t too impressed with some aspects while testing it.
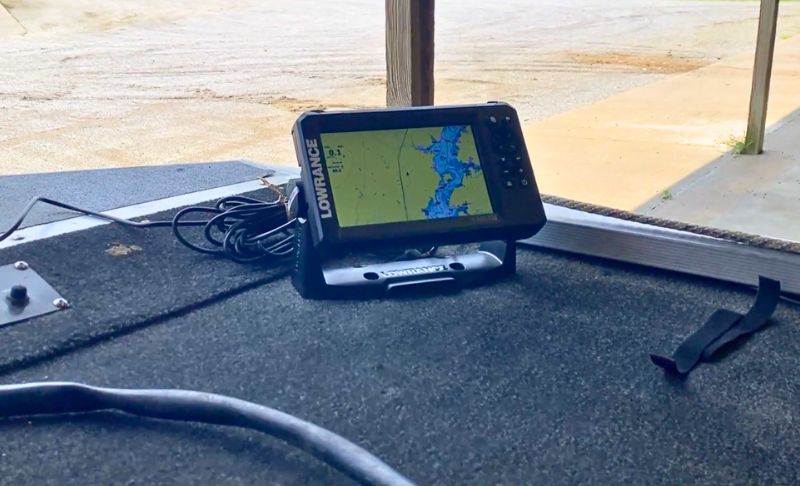
The first is the mapping. The Lowrance Hook Reveal blew me away with its mapping capabilities, so I had high hopes for the Eagle, but it fell short.
Maybe I hit the wrong button, but the maps on the Eagle weren’t as good as the pre-installed ones on the Hook Reveal.
The other downside is Lowrance’s reputation for poor customer service. While I haven’t had to deal with it, I’ve heard far too many customers complain about how they were given the run-around or weren’t helped by Lowrance after a product broke while still under warranty.
Overall, I had a positive experience while testing the Lowrance Eagle. I wouldn’t hesitate to mount the 7” or 9” screen on my kayak because it has everything I need as an average angler without all the confusing/useless features.
Best Value
Garmin STRIKER 4
Specs
Pros
Cons
Why We Chose It
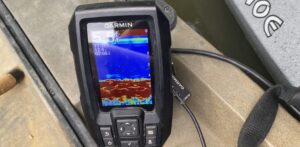
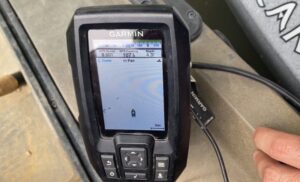
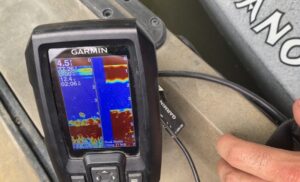
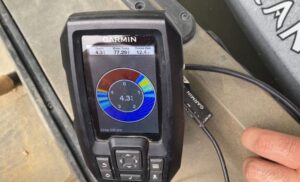
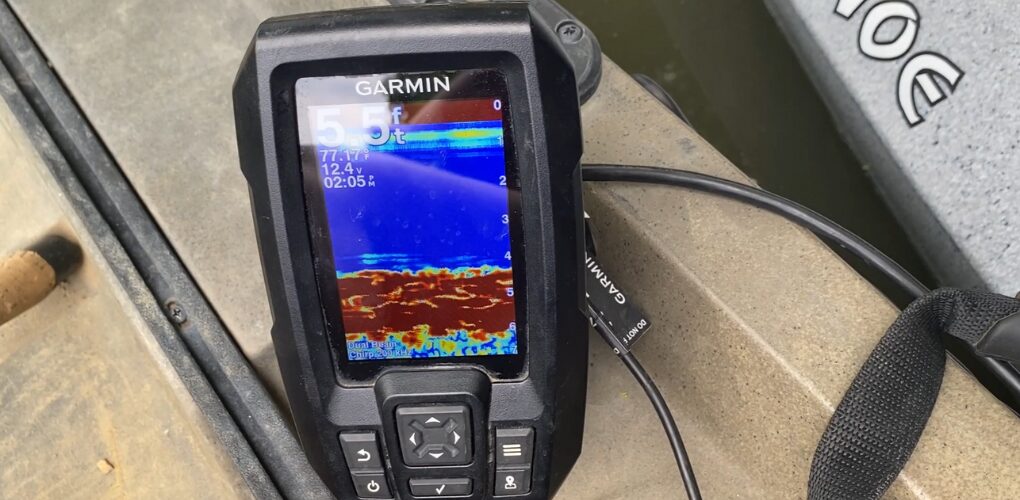
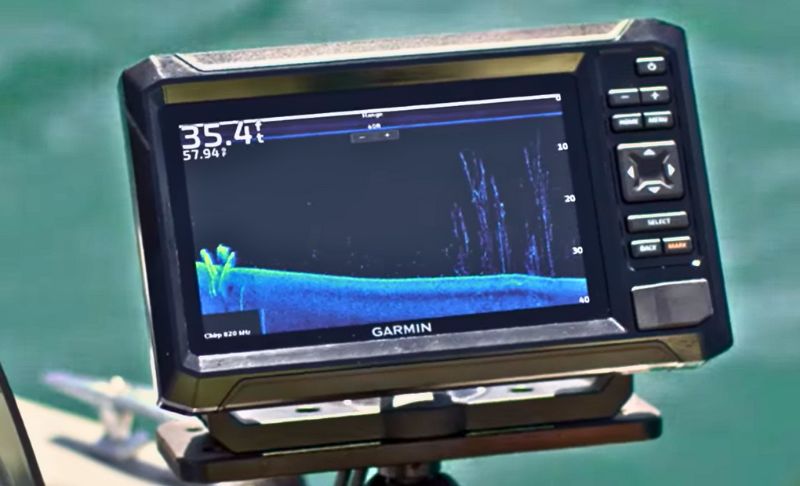
The Garmin STRIKER 4 is the best kayak fish finder for beginners because it’s super inexpensive (around $150, depending on the model) and so easy to operate that the dang fish could use it to find each other.
It was the first fish finder I ever bought, and if you’re just getting started, you’re gonna love it.
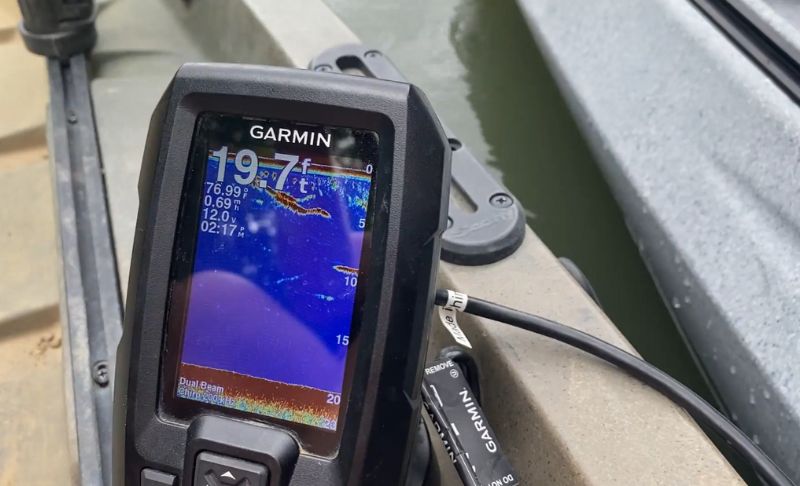
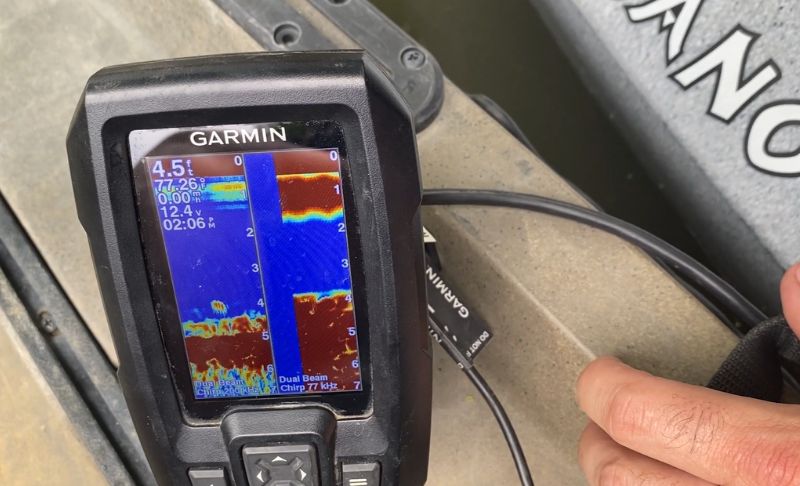
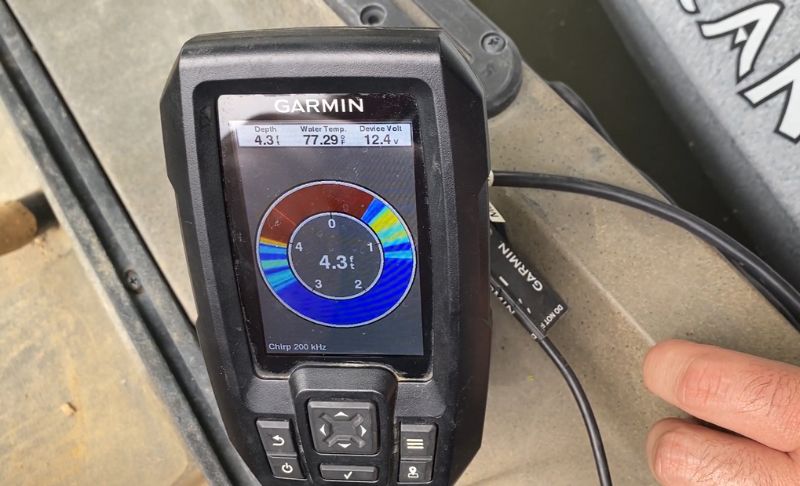
It’s amazing because of its simplicity. It gets the job done, finding fish and structure without the hassle of learning a complicated interface or setting up additional transducers.
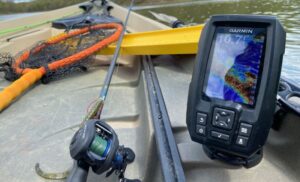
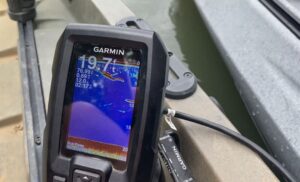
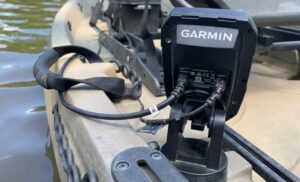
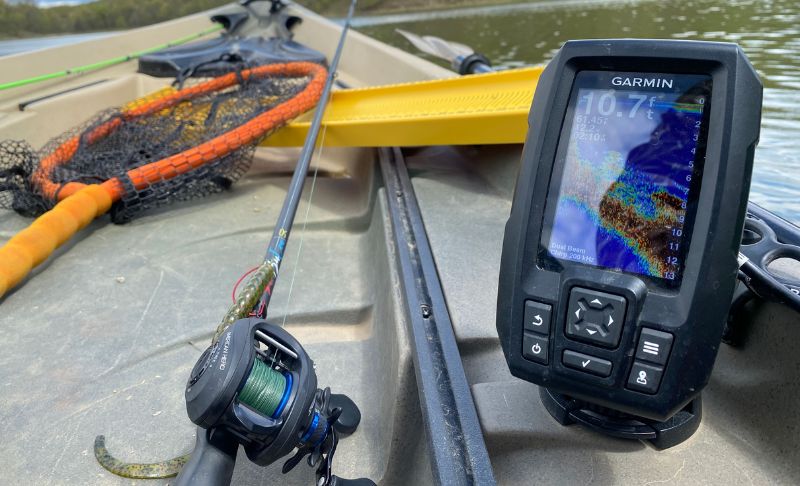
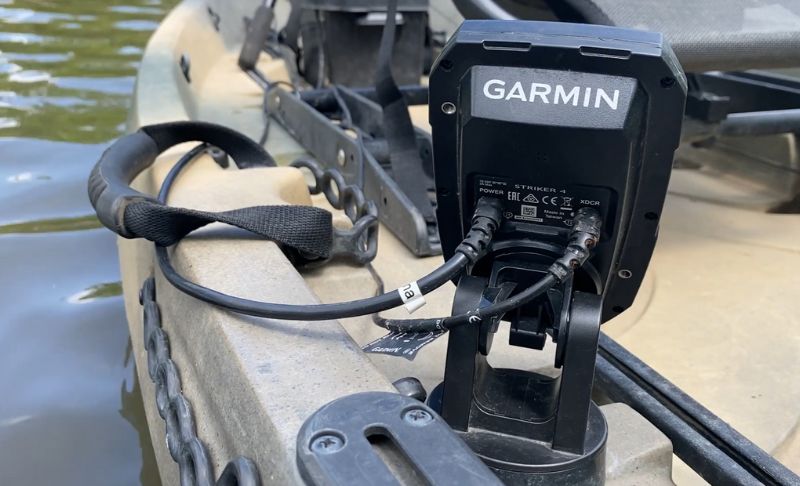
It’s a good fish finder to learn on because it’s inexpensive, simple to install and set up, and it doesn’t have a ton of features to overwhelm a beginner, as I was at the time. Thanks to the quick-release bracket, it’s also super easy to put on and take off your kayak for transport.
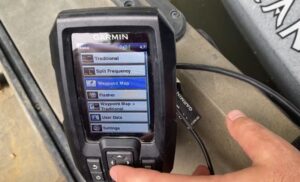
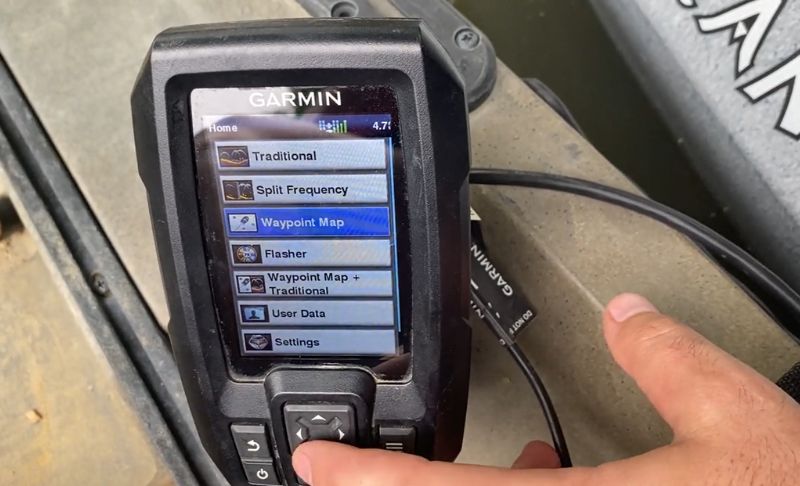
The buttons are pretty self-explanatory, and it’s easy to navigate from one page to another. However, I found the screen to be a little too small for my Nucanoe Frontier 12. I think the 4-inch screen would work great on a 10-foot kayak.
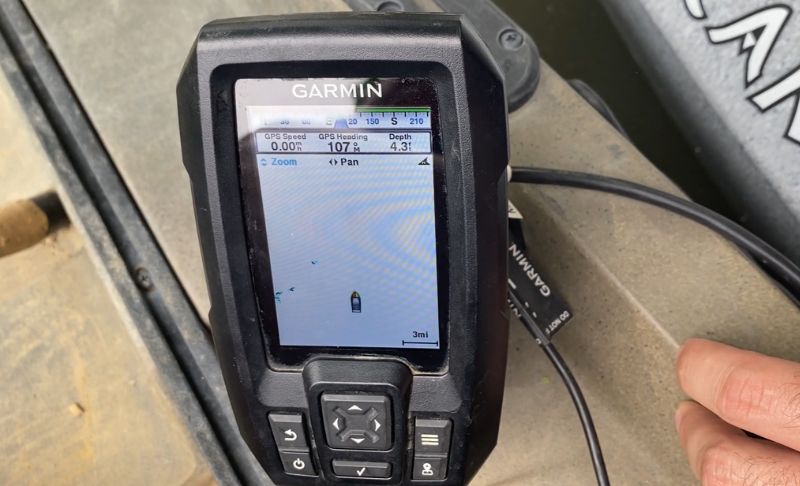
I was excited to test out the GPS features, thinking I would have a map of the lake, but no such luck. Instead of a map, it’s a white screen on which you drop GPS waypoints, which is okay for marking your spots, but that’s about it.
As I became a more serious kayak angler, I was quickly ready to upgrade, since this unit is only capable of the basics, which is why it’s so affordable. The Garmin STRIKER Vivid 4cv is a slight step up in price as well as features that the average angler will likely never outgrow.
After using this fish finder for years, I strongly recommend the Garmin STRIKER 4 for beginners and fishing for fun because it’s so easy to use and ridiculously affordable.
You can gamble your money on purchasing a fish finder from a lesser-known company, or you can buy this one from Garmin, the legendary fish finder brand, for a similar price.
Not to mention, once you’re ready to upgrade, you can sell this unit to get your money back and put it towards a higher-end unit. It’s a no-brainer for me.
Best for Tournament Anglers
Garmin ECHOMAP UHD2
Specs
Pros
Cons
Why We Chose It
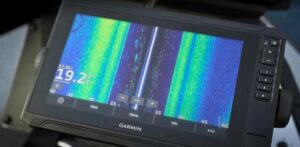
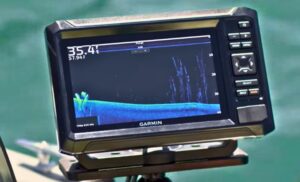
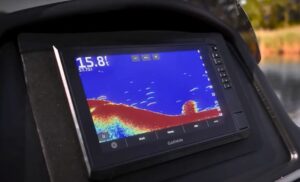
The Garmin ECHOMAP UHD2 is the best kayak fish finder I’ve ever used and my #1 pick for experienced anglers.
If you were born in a kayak with a fishing pole in your hand, you’ll love this.
This is one of the most advanced fish finders ever made by Garmin, the biggest name in fishing electronics (and I’m not just blowing smoke).
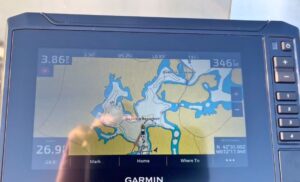
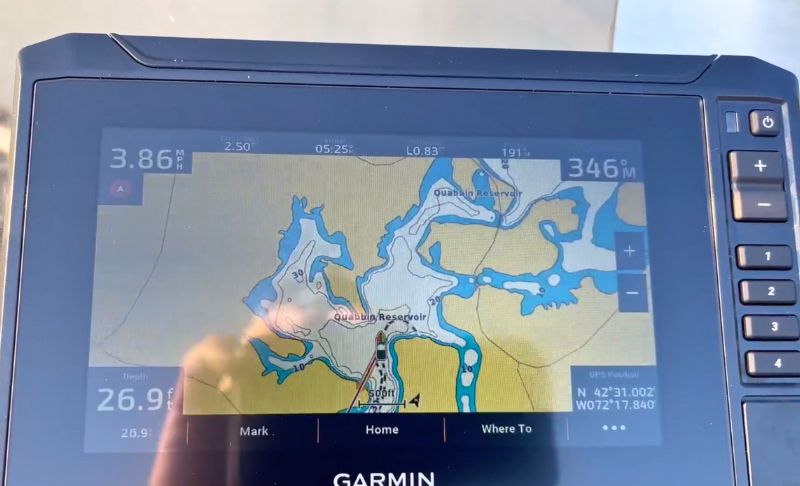
It has detailed maps, the most accurate sonar, and the most advanced connectivity features I’ve seen. If the Scottish were going to look for the Loch Ness Monster again, they’d get the Garmin ECHOMAP UHD2 with Panoptix Livescope.
I don’t expect you to believe me just yet, so let me walk you through a few of my favorite features of this fish finder.
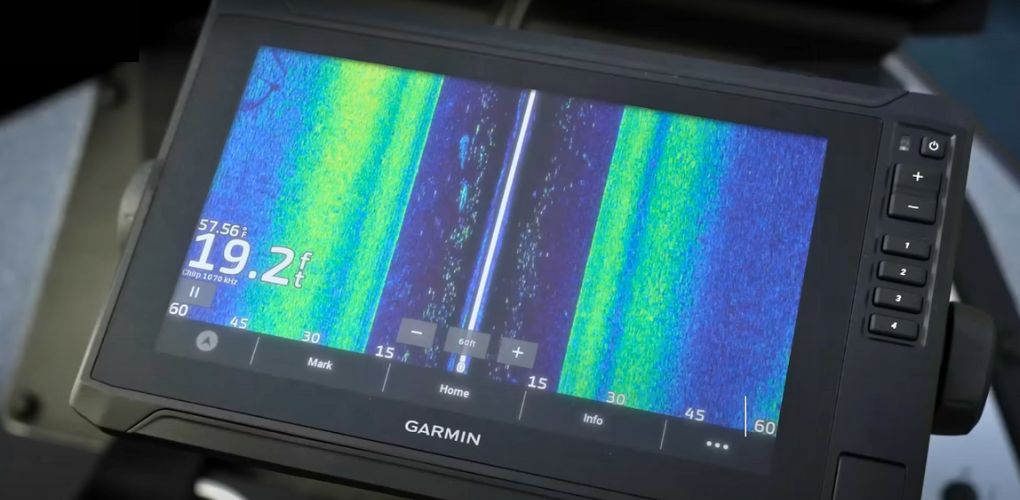
I want this on my kayak mainly because I want the best sonar technology: Panoptix Livescope. It’s a fancy sonar that allows us to see exactly what’s beneath our kayaks, and that’s why I’ve rated this the best kayak fish finder for tournament anglers.
With this new-fangled technology, I can see EXACTLY where the fish are around the brush pile, how many fish there are, and how they react to my presentation.
Idk about you but I find it very helpful to see how the fish react to my lure in real time!
Panoptix is a high-end sonar that gives you a live image of what’s happening below your kayak. That’s a crystal-clear live view of 200 feet in any direction you point the transducer (way better than traditional sonar).
Another feature I like is that ECHOMAP UHD2 electronics have a quick-release bail mount, which makes removing the unit while transporting your kayak very simple.
The last feature of the ECHOMAP UHD2 that stood out to me is the touchscreen (available on most models) with keyed assist. Keyed assist is a fancy way of saying it has a touchscreen and buttons. So, if your hands are wet and cold and the touchscreen is being difficult, you can still use the buttons.
Personally, I like that it has both options, unlike the Garmin Striker 4, which only has buttons, but I understand most anglers can live without a touchscreen.
A touchscreen fish finder is easier to navigate in my opinion; I can quickly switch between pages or sonar types. While I can also do this with buttons, it usually takes a little longer. I don’t know about you but I’d much rather be fishing instead of pushing buttons on my fish finder!
If I had to name a downside to this fish finder, it’d be Garmin’s complicated customer service, but it’s not bad enough to make me give up my Garmin fish finder.
So, if you’ve got the budget and want the greatest sonar out there that shows EXACTLY what’s below your kayak, this unit is for you.
Recent Updates
- Dec. 5, 2024: Added the Lowrance Eagle as the best choice overall after testing it.
- Dec. 5, 2024: Updated the Garmin ECHOMAP UHD review with the newer UHD2 model and changed it to the best for tournament anglers.
- Dec. 5, 2024: Removed several lower-quality units from the list so it only includes the best of the best.
Testing Procedure
If you prefer video format, click the video above which shows me with these fish finders in-hand.
Here are the features I look for when testing these fish finders:
- User-friendliness: Was the unit simple to install and set up, or did I need lots of help?
- Screen size: This one is tricky because I want as large of a screen as possible without it getting in the way while fishing or paddling.
- Upgradability: How easy is it to upgrade the unit? Did I have to buy another fish finder to get the higher-end features?
I consider myself to be fairly handy, so I didn’t expect much trouble when installing and setting up these fish finders on my kayak.
However, some were more difficult than others, so if you’re not a fan of rigging your kayak, you might want to avoid the high-end fish finders or pay someone else to set it up.
Having a 12” screen on my Nucanoe Unlimited would be awesome — until it makes paddling difficult or causes me to lose a fish. So, I prefer models that have multiple screen sizes so I can find the perfect one.
I generally use a 7” or 9” on my 12’ fishing kayak, but on shorter kayaks, those screens would be overkill.
Because I’m competitive and like to challenge myself by fishing kayak tournaments at times, I need the option to upgrade to better sonar, such as live sonar.
However, this is not for everyone, and I have caught lots of fish using a base model fish finder for years.
How to Choose the Best Kayak Fish Finder
You’re in the market for the best fish finder for kayaks. Great, so how do you choose?
What criteria should you keep in mind when you’re shopping around?
Many of these options are similar, with only a few minor factors that separate them. On the other hand, some are completely different.
Here are some of the factors I keep in mind when shopping for a kayak fishing fish finder.
Display
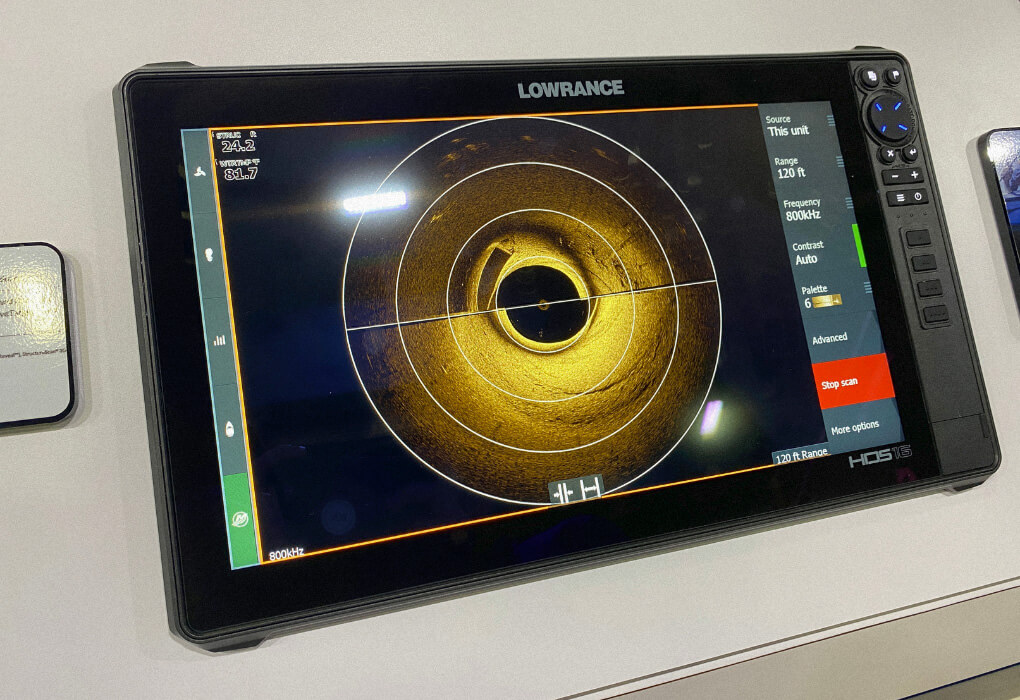
Technology has moved us forward from the old gray-scale displays, so most new models have a color LCD display at this point.
Full color will offer a better picture, but does it really improve how you see the fish? Not really. If you can save a few bucks and go with black and white, go for it.
That applies to basic sonar technology. If you have a standard down- or side-imaging fish finder, you’ll want a color display because you’ll get a better idea of structure and the location of the fish based on that structure. This will help you “feel around” as you retrieve your lure.
Imaging
The type of imaging is probably the most important factor. I’m talking about what type of fish finder you have and how it translates sonar into images.
You have three primary choices:
- Down imaging
- Side imaging
- CHIRP sonar
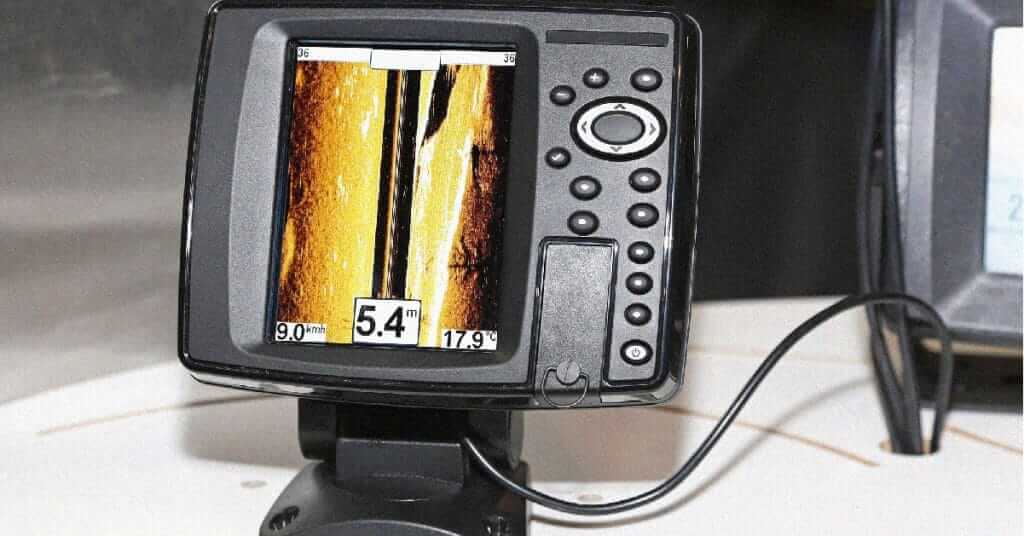
Down imaging is when the sonar funnel shoots straight down from the transducer, offering you an image of what’s happening directly beneath the kayak.
Side imaging will send sonar rays horizontally away from the transducer, which helps you pick up on upcoming changes in structure as well as fish, so you don’t need to be as close to anticipate it.
CHIRP sonar is also referred to as FishID or FishARC technology. These are all essentially the same thing. With this, the transducer sends out sonar bursts every so often, which results in an image rather than a real-time live picture.
Some fish finders offer all three of these, while others have combinations of the three. Down imaging and CHIRP are more common and more affordable than side imaging.
If you go with a higher-end fish finder, like the Humminbird Helix 7 or Garmin UHD, then you’ll have the option for live sonar. Live sonar is the latest sonar technology and reminds me of playing a fishing video game because you’re seeing how the fish react to your lures.
With live sonar there is no guessing if it’s a fish or brush pile; you will see the fish swimming. It’s really cool but every angler does not need it.
Depth
By depth, I’m referring to the maximum depth range of the fish finder. This will be important to those of you who are fishing deeper waters in your kayak. Maybe it’s a large river or even a deep inshore canal. Regardless, you’ll need a fish finder with some range.
Keep in mind that even if the manufacturer states it’s accurate up to 250 feet, the closer you get to that maximum, the less accurate it’ll be.
I personally recommend taking 50–100 feet off of whatever they say to find the actual range. If your choice has a variable cone, you can customize how the transducer sends the sonar by shortening or widening the cone.
By shortening the cone, you increase max depth but reduce the range you can send sonar horizontally from the kayak. I won’t get too technical, but just make sure you keep in mind where you fish and how deep the water typically is.
Screen Size
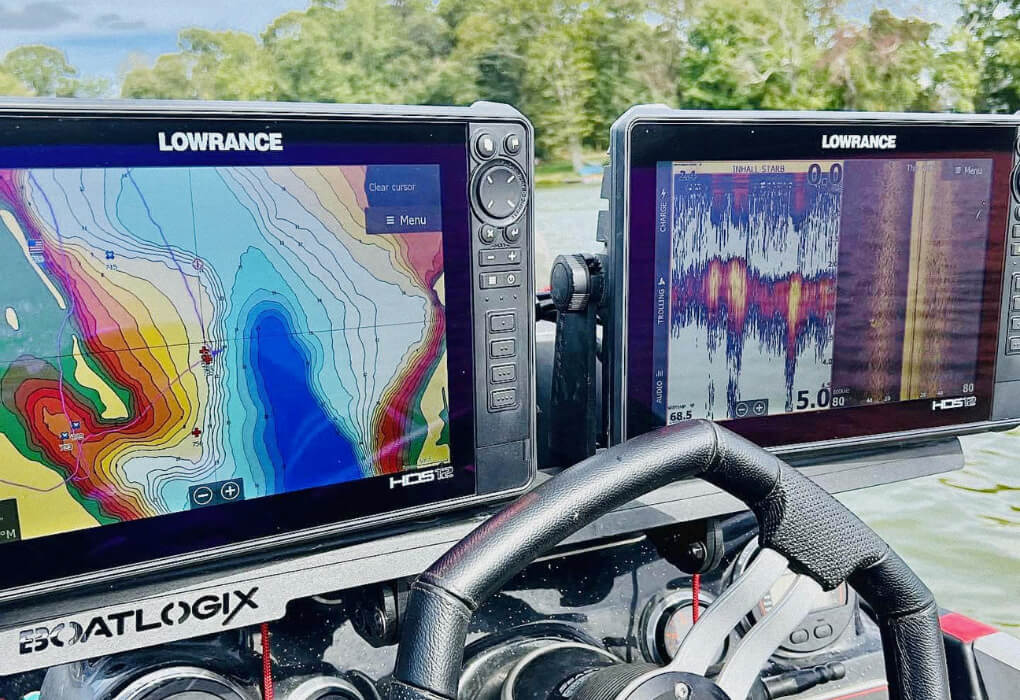
What good is a fish finder if you can’t see it? I tested some screens that are 3.5” and others that are 9”. How do you choose?
Since we’re focusing on portability and compact design, maybe you’ll want to meet somewhere in the middle?
You don’t want a fish finder that’s so bulky it gets in the way when it needs to fit inside a fishing backpack or carrying bag. But, on the flip side, you need to be able to read it properly without having too much strain on your eyes.
I think all the fish finders for kayaks reviewed above have a large enough screen for most people to easily see without it getting in the way of paddling and fishing.
Extra Features
Features are good, right?
Some features you’ll want to look for are GPS mapping, pre-loaded lakes, Bluetooth compatibility, mounting devices, castable transducers, and more. There are tons of different features to look for, so don’t be afraid to spend some time reading and searching.
Each of the fish finders reviewed above contains unique features that you might not find in every product on Amazon or at your local sporting goods store. Take your time and always keep your fishing style in mind as you shop.
Don’t waste your money on a bunch of features you’ll never use.
Budget
Your budget should also be an important factor because fish finders vary widely in price. There are some for less than $100, and there are some for more than $1,000. You need to have a budget in mind, but I also don’t recommend going for the cheapest option on the market.
Overall, every model I tested and reviewed above offers features that are appropriate for the price tag. You get what you pay for, so just be sure to factor in all these buying considerations before pulling out your wallet.
Transducer Compatibility and Space
Since you’re fishing from a kayak, space is important, and installation is even more important. Many fish finder manufacturers are teaming up with kayak builders to make their products more compatible.
They realize that more and more people are fishing from kayaks, so space and portability are more of a factor than ever.
Look for fish finders with compatible scupper holes, mounting devices, and reviews from people who are using them on kayaks. Companies like Lowrance, Garmin, Humminbird, and Raymarine specialize in this.
Power
Knowing how you will power the fish finder is something most first-time fish-finder buyers overlook.
The majority of fish finders require you to have a 12-volt battery on your kayak, which adds weight and takes up space. If you don’t have room for the battery, I recommend choosing a portable fish finder.
However, there are many compact 12-volt batteries on the market that give kayak anglers plenty of power without adding too much weight. I run Dakota Lithium batteries with my electronics. They’re expensive but haven’t let me down yet.
Waterproofness
Having a waterproof fish finder for your kayak is important because you’re much closer to that water than you would be in a bass boat or other type of boat. There could be more splashing with paddling and ultimately, a higher chance of the fish finder getting wet.
As you’re shopping around, make sure you’re looking for fish finders that are either waterproof, or water-resistant or come with a cover that you can use to protect them. Most will offer at least one of these.
How to Choose the Best Fish Finder for Kayaks Based on Technique
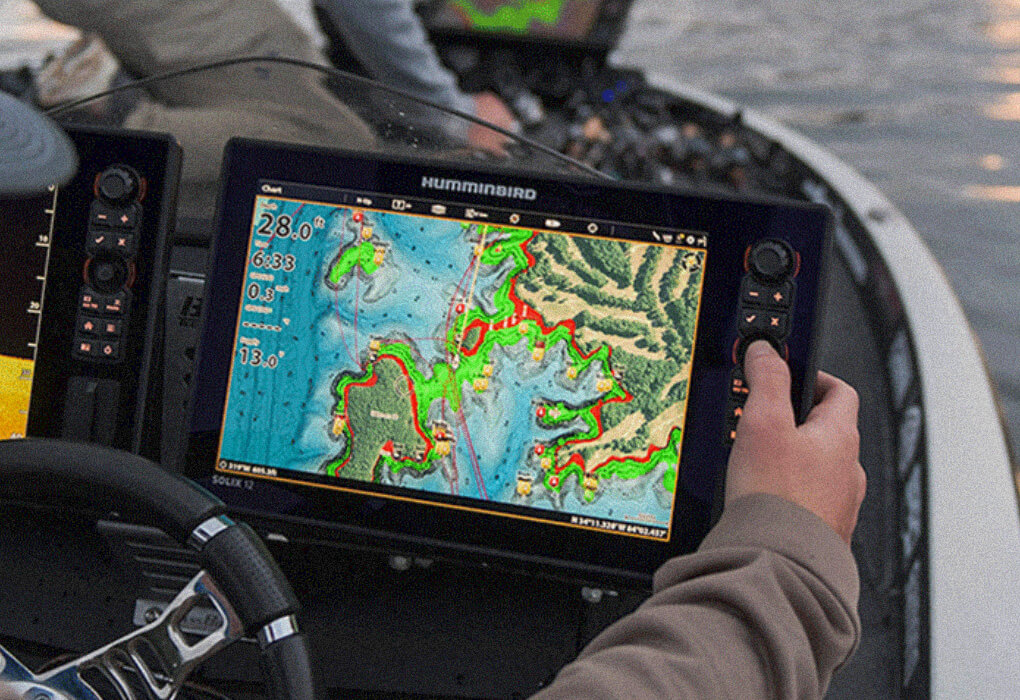
Now I want to get a little more specific. In this section, I’m going to tell you which features you should look for based on what type of fishing you do. Where, how, and even when you fish will require you to think differently about what fish finder you should purchase.
Deep Water
This goes out to all my offshore kayak anglers and deep river trollers. If you’re fishing in water deeper than 25 feet, you’ll want to read this section.
Deep water anglers need a fish finder with accurate depth, first and foremost. You’ll want to look at some of the more premium fish finders that will offer depth trackers up to 250+ feet. Obviously, you’re not fishing at these depths, but the deeper the ability, the more accuracy it will provide at shallow depth.
GPS mapping is also an important feature for you because you’re likely covering a lot of water in a short period of time. It’s nice to be able to keep track of where you went so you can revisit those spots later on.
Structure Fishing
Structure anglers like to fish around docks, wood pilings, stumps, weeds, and humps. If this sounds like you, you’ll benefit from a triple-shot fish finder like the Lowrance HOOK2.
This one is the perfect choice because it offers side imaging, which will allow you to get an accurate representation of the structure and the fish around it without having to get too close.
Thankfully, when we’re kayak fishing, where we can go is a bit more flexible, but that doesn’t always mean we want to venture every which way. It’s nice to see what’s coming up before we’re right on top of it, and this type of fish finder is the best choice for supplying that.
GPS is nice, too, in the event that you stray far away from where you started. GPS technology will help you find your way back to the ramp or the honey hole.
Shallow Water Fishing
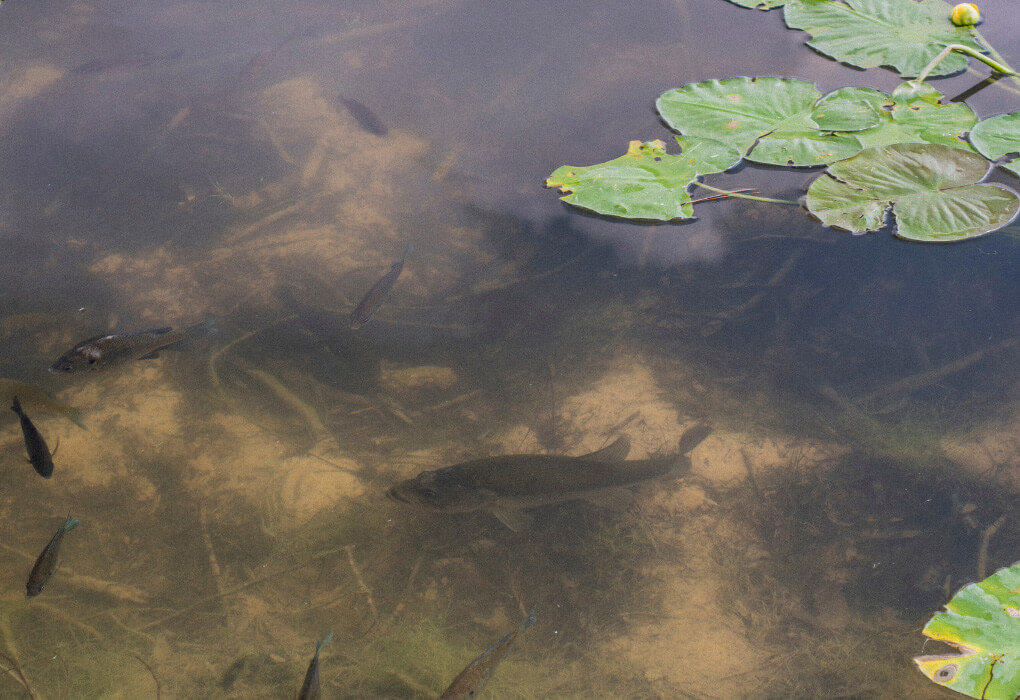
If you’re fishing in shallow waters, rivers, and creeks, going with a basic fish finder should get the job done. You can save a little money because you don’t need anything with crazy depths or GPS tracking, since you’re not venturing too far from civilization.
A castable fish finder is also an option in this case, since you’re right on top of your fishing spot. Sometimes being able to stay put and cast the transducer out to your ideal location is better than having to go out there and spook the fish.
Salt water vs. Freshwater
One last important consideration you should understand is that not all fish finders will work in salt water. Many of them will, but they also have different depth ranges and accuracy when you’re fishing in salt water.
As you’re doing your research and reading up on some of the products reviewed in this guide, make sure you read on how salt water impacts the accuracy and depth of the fish finder.
Conclusion
You read the reviews and the buying guide, and now you see why I rated the Lowrance Eagle the best kayak fishing finder.
Choosing a depth finder for a kayak doesn’t have to be hard, but it’s an investment, so you want to make sure you choose the one that works best for you.
Let me know which kayak you’re fishing from in the comment section.

The article is really informative. It will really helpful for fisher
Thanks!