There are two main reasons why making fishing lures has become more popular: it’s more affordable and it’s fun!
From simple spoons to specialized bass lures, here’s everything you need to know about how to make homemade tackle.
Last updated: December 30th, 2024
Getting Started
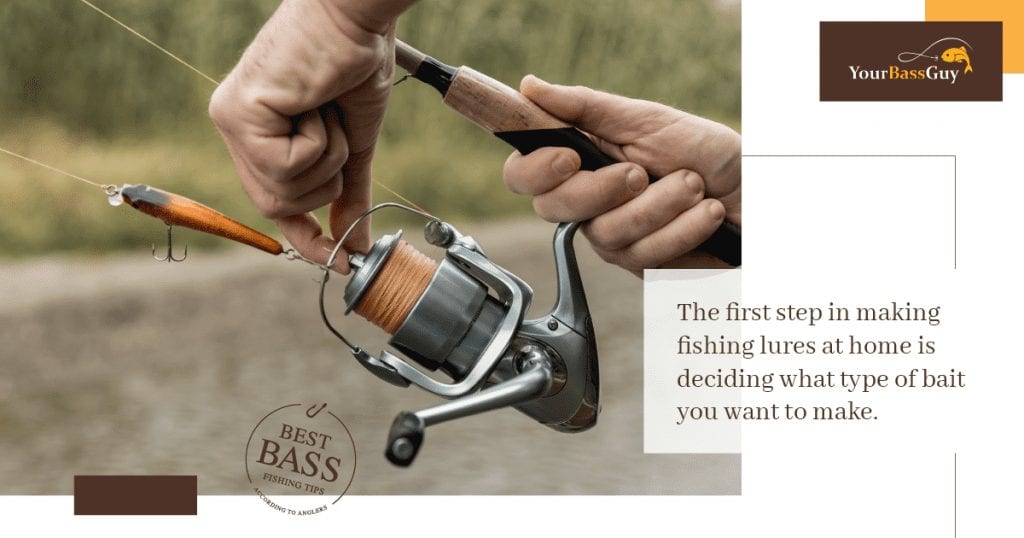
When you go to the store to purchase a lure, you always have a specific type in mind. You should do the same for a DIY lure.
You also need to consider the presentation and action. Are you planning on making a topwater, a mid-water lure, or a bottom feeder?
Let me break down the different types of DIY lures and some ways you can turn your ideas into a reality.
Homemade fishing lure ideas from Anglers.com community coordinator Wesley Littlefield
DIY Fishing Lure Types
Plastic Fishing Lures
My favorite types of lures are plain and simple plastic or rubber worms. These lures mimic the movement of a baitfish or worm in the water. Think the ones from brands such as Berkley Gulp and Zoom, but made by you.
To make a plastic lure, you’ll need three main components:
- A mold in your chosen shape (worm, craw, or anything else that you can think of)
- Soft plastic liquid
- Coloring and additives (like glitter)
You can either purchase a complete kit with everything included, or gather the materials separately. I recommend beginners to start with a kit since it comes with detailed instructions and all necessary tools, including injectors.
The chemicals used to create the plastic lure will create fumes. Ensure you are in a place with proper ventilation.
Most kits you buy will come with a soft plastic liquid and coloring.
You’ll start by combining your soft plastic liquid and coloring in a separate bowl. Then, either inject or pour it into the mold and heat it.
The plastic molds can withstand a higher temperature than the interior fluid, so your mold won’t warp while your lure takes shape. As the heat does its work, the liquid inside transforms into that soft, flexible plastic we’re all familiar with.
Once everything’s cooled down, you’ll split open the mold. Inside, you should find your very own custom-colored soft plastic lure.
Although this method requires some effort, you can produce many lures for less than the price of one at the bait shop.
Wood Fishing Lures
For making wood lures, you’ll need the below safety gear as the job can get messy:
- Safety glasses
- Dust masks
- Work gloves
Also, you’ll the below materials for the lure:
- Hardwood (poplar or balsa wood works best – they’re affordable hardwoods that are easy to shape without being too delicate)
- Quick-drying epoxy for attaching components such as eyes
- Waterproof sealer to protect the wood when under water
- Spray paint (I use this to keep costs down, but an airbrush works if you have one)
When making wood lures, you should understand that you’re obviously limited in the types of lures you can make. Through trial and error, I’ve learned that the following work best:
- Crankbaits
- Wooden minnows
- Topwater poppers (which is what we’ll make below)
Here are some of the steps you’ll take:
- Start by cutting your wood into a 6-inch dowel. In my opinion, this length gives you two perfect-sized poppers.
- Sand the dowel to a 1-inch diameter using a belt sander, tapering both ends.
- Cut your dowel in half, giving you two 3-inch pieces. Each piece will become a separate lure.
- Use the belt sander to create the concave “popper” mouth on both pieces.
- For drilling your hook points for the screw eyes and hooks, you’ll need three holes using a 1/32 bit:
- Front hole: ⅔ from top
- Bottom hole: ⅓ back from front
- Back hole: centered on rear
- Apply your sealer onto the lures and hang them to dry for at least 20 minutes. Then, wipe off any excess sealer and let it dry for a full 24 hours.
- If you want to make a scale pattern on your lure, you’ll have to create a layered pattern that starts from the bottom and works its way up. This creates the belly of the baitfish.
Many people do this using a bathroom scrubber to act as a mesh. You’ll place the mesh tightly over the lure and spray it. Let the paint dry overnight and then apply the eyes in the morning. - Once paint dries overnight, attach the eyes and add a final sealer coat.
- Tip: Wave a lighter quickly over the sealer to pop any bubbles – be careful not to burn the wood.
- Attach your treble hooks and test the float. If it doesn’t sit right in the water, adjust hook positions until it does.
Bass-Specific Fishing Lures
When I first started making lures for bass, I tried to create wild, never-before-seen designs. Those experimental lures are still sitting in my garage, untouched by both me and the bass.
Here’s what actually works: Start with proven designs that bass already love. The easiest way to get started? Grab yourself a soft plastic mold.
In my experience, it’s the most beginner-friendly method, and you’ll be making your own worms and creature baits in no time.
If you’re feeling more adventurous after mastering soft plastics, try customizing the wooden popper we just made.
Just remember that most of the wooden lures you make will float, so shop around and find the right kind of wood if you’re looking to do something different.
Spoon Fishing Lures
In my experience, spoons are the easiest and best fishing lures to make at home. They also are fun to make and are surprisingly effective for bass fishing.
Here’s what you’ll need:
- Cheap teaspoon or tablespoon
- Basic tools (which you probably already have):
- Vise
- Saw and hammer
- Needle nose pliers
- Drill with bits
- Metal file
- Center punch
- Medium-grit emery cloth
- Toothpaste (great for polishing)
- Two small pieces of wood for shaping
Fishing components (split rings, swivel, treble hook)
Follow these steps to create your spoon lure:
- Place the spoon between the two wood pieces in your vise, letting just the “spoon” part stick out. The handle should be locked in the vise.
- Cut a notch in the spoon using your saw carefully.
- Rotate the spoon vertically in the vise with that notch visible. The spoon bowl should be in the vise now, handle pointing up.
- Hammer dents in the spoon using a center punch. These dents are where you’ll put the holes.
- Drill the holes. Keep that spoon locked tight in the vise.
- Reposition the spoon so you can access it and use the emery cloth and file to shape and remove any rough edges.
- Polish the spoon using a standard household cleaner and toothpaste.
- Attach your split ring, swivel, and hook using needle nose pliers.
Pros and Cons of Making a Fishing Lure
Pros
Cost-Effective
It’s highly budget-friendly to make your own lures. If you’re anything like me, you have a serious issue with getting hung up and having to cut your line because you can’t get it back.
This is a frustrating experience, but something that every angler deals with. Save yourself some money and practice lure-making at home.
Sometimes a simple rubber worm that you made in two minutes will keep you going for weeks, and it might have cost you 10 cents or less to make.
Enjoyable
Lure building is fun because you have the flexibility and freedom to design them how you like. If there’s a specific color that you can’t find at the bait shop, you might be able to find it in a dye, and you can customize it using different glitter as well.
If you decide to make a wooden lure, you have complete control over the design aspects, and you can even play around and try to come up with something that has never been done before.
Cons
Time Consuming
The most evident reason most people don’t do it is that they don’t have the time. Some of us have a hard time even getting on the water as much as we’d like.
Room for Error
The biggest reason I see is the margin for error in making your own lures. Many of the lures you buy from the big brands have been tried and tested for years, and it sometimes seems silly to veer off the track and think you can do it as good as they can (not saying you can’t, though!).
Limitations
You’re also limited in the types of lures you can design. I can’t find any ways you would be able to create a spinnerbait or many other topwater lures for bass fishing.
You also can’t make jerkbaits or a whole lot of lures for fly fishing either. The amount of fishing tackle you can design is limited when you’re doing handmade baits.
Final Thoughts
The idea of do it yourself fishing lures is an interesting one and not something I’ve experimented with too much myself, but I just might have to do it a little more.
Whether you decide to purchase a DIY fishing lure kit or a little lumber for a wooden bait, make sure you pay attention to some of the instructions above so your lure doesn’t become a flop.
If you’re looking for a fun project to do with your kids, go with the spoon idea. That’s something that anyone can do, and I see no reason why the lure wouldn’t work being that it’s as simple as it gets!


